There is a lot to think about if you want to make a virtual pinball cab. There is no such thing as “the” ultimate DIY kit or guide. Fortunately some people can make your life easier. The best thing I came across for example was this Pinscape Build Guide, written by Michael Roberts. It is not just a guide, it’s a whole book in which Michael documents his own cab-building experiences. In more than a hundred chapters he describes the entire creation process, from building the wooden cabinet to installing and customizing the pinball software. By reading this guide I was able to make up my mind about my own wishes and ideas for the virtual pinball cabinet. In the text below you can read about my considerations.
1. The cabinet
I like woodworking and I already know that I want to design and create the cabinet myself. But when you’re not so confident about your own woodworking skills, VirtuaPin offers so-called DIY “flat packs”. These flat packs contain all the parts needed for assembling a wooden cabinet. The parts are made from CNC-cut ¾” (19mm) plywood. All the necessary holes are drilled and cut and customizations can also be made on request. You can choose from Standard Body, Widebody or even Ultra-Widebody versions.
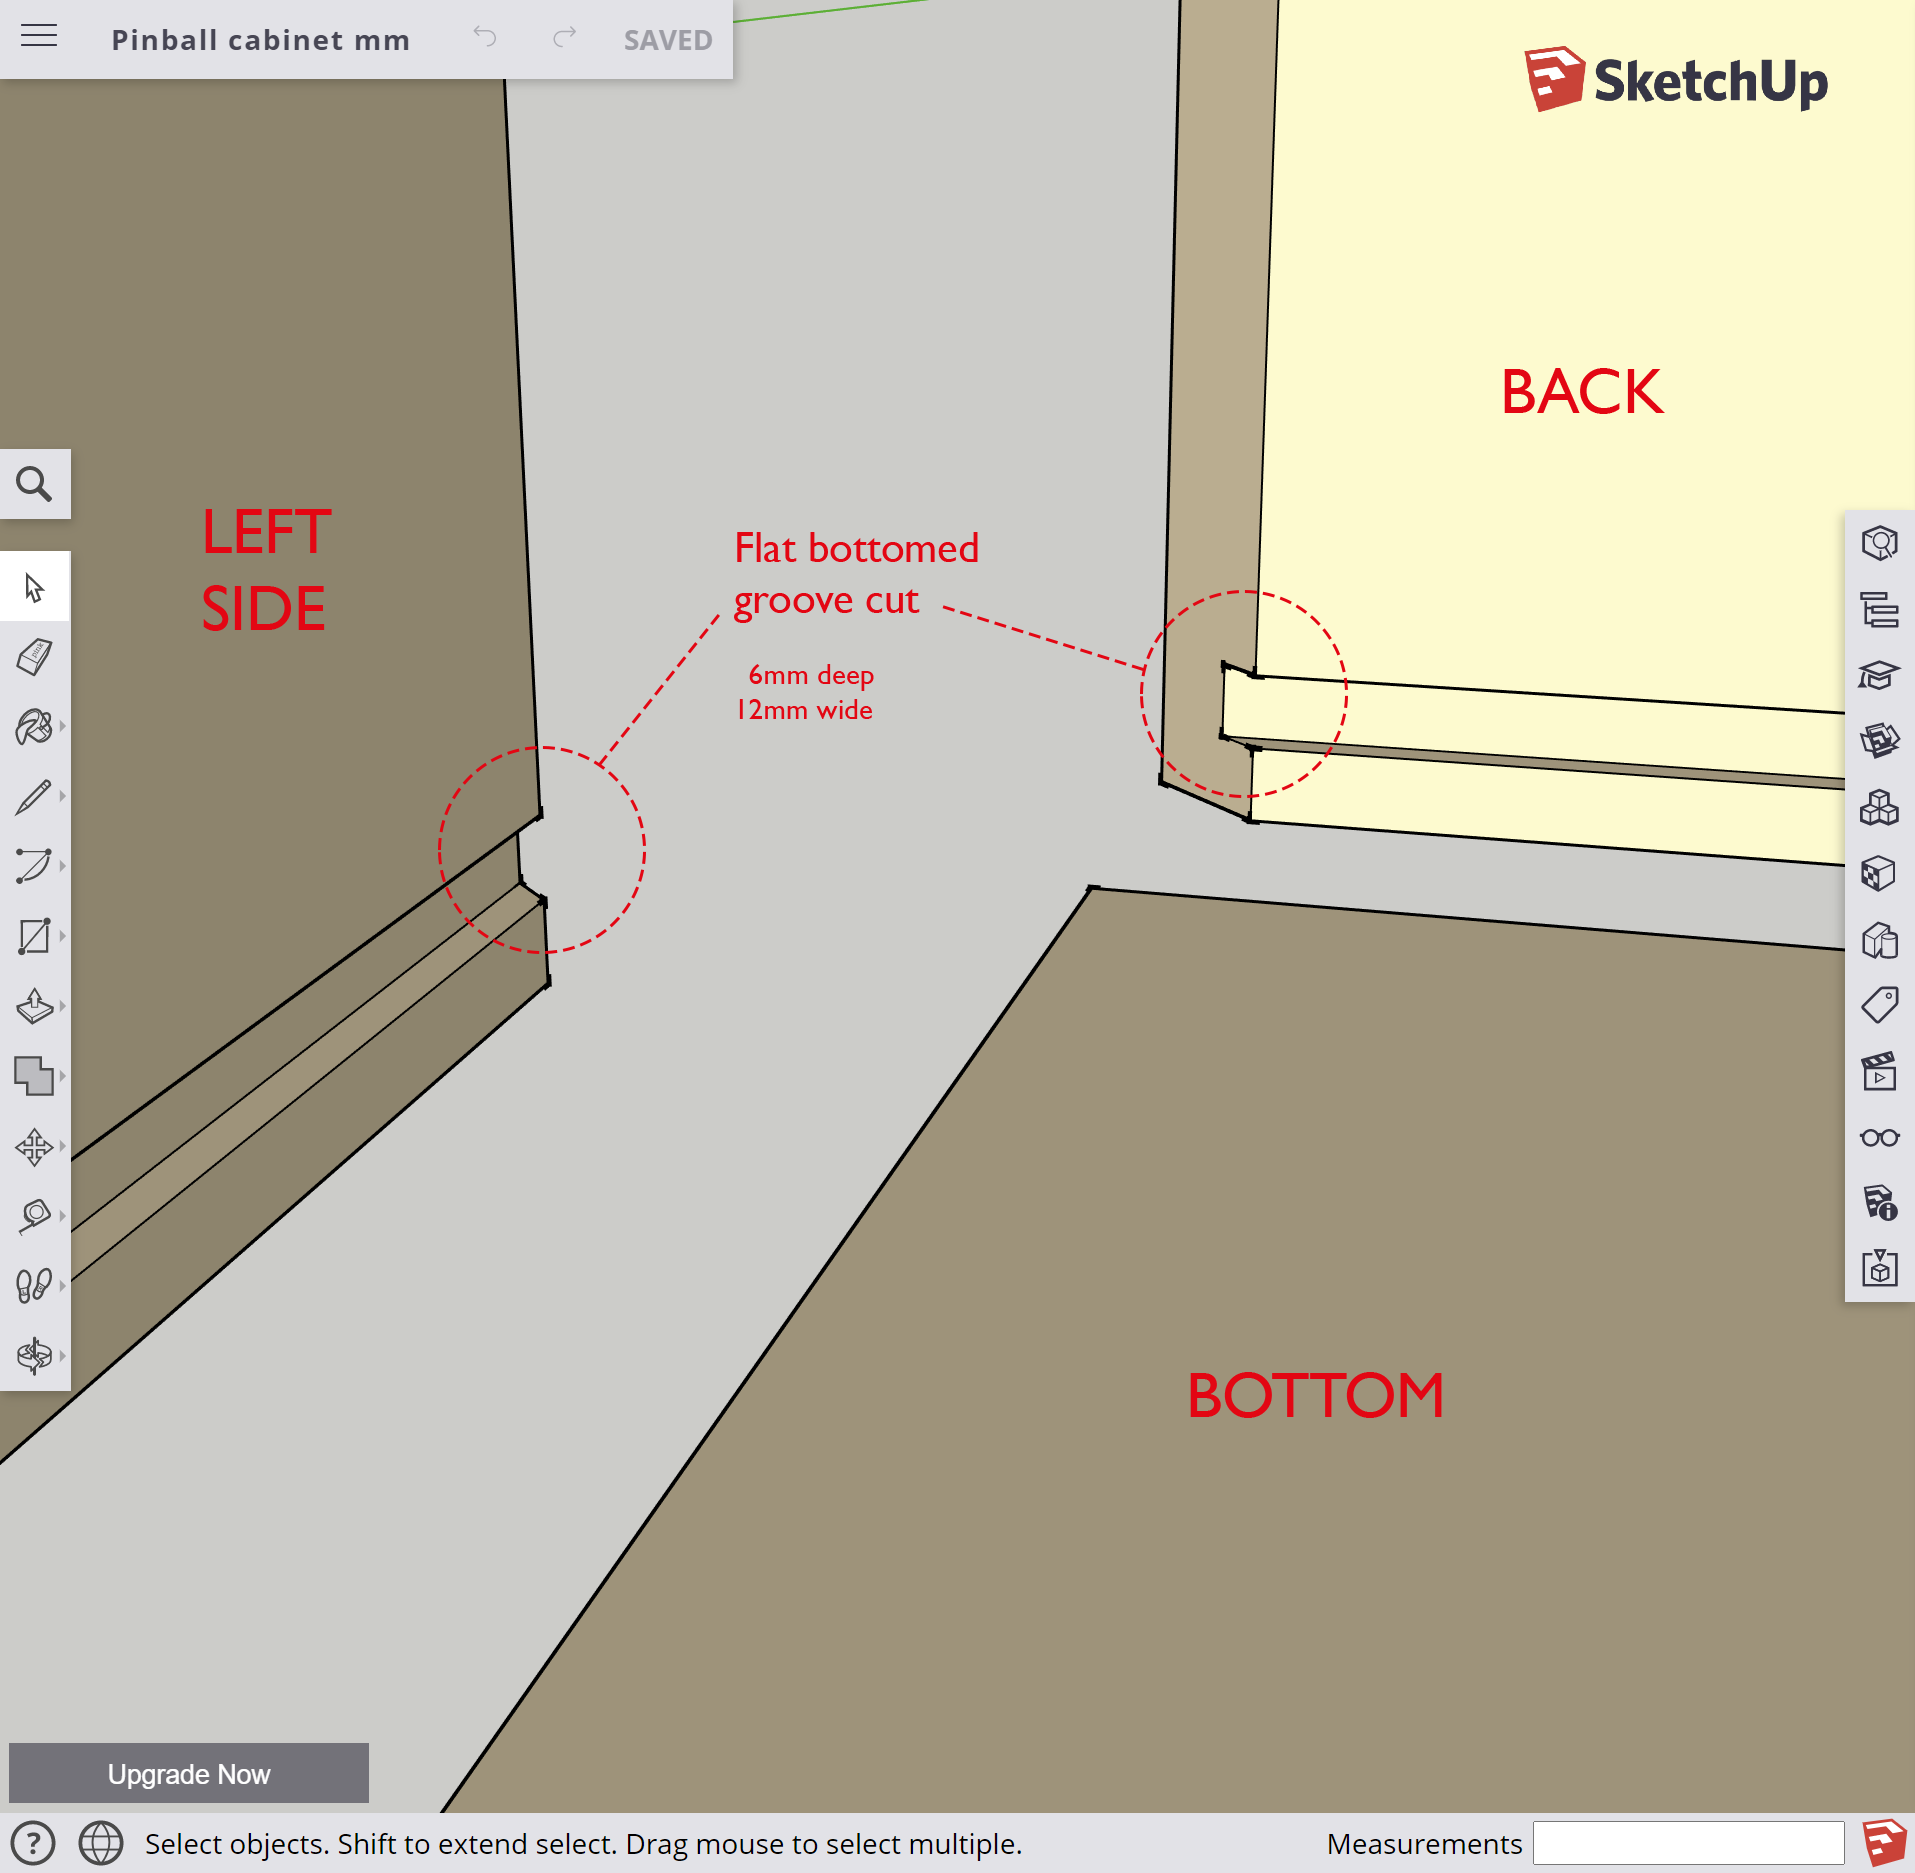
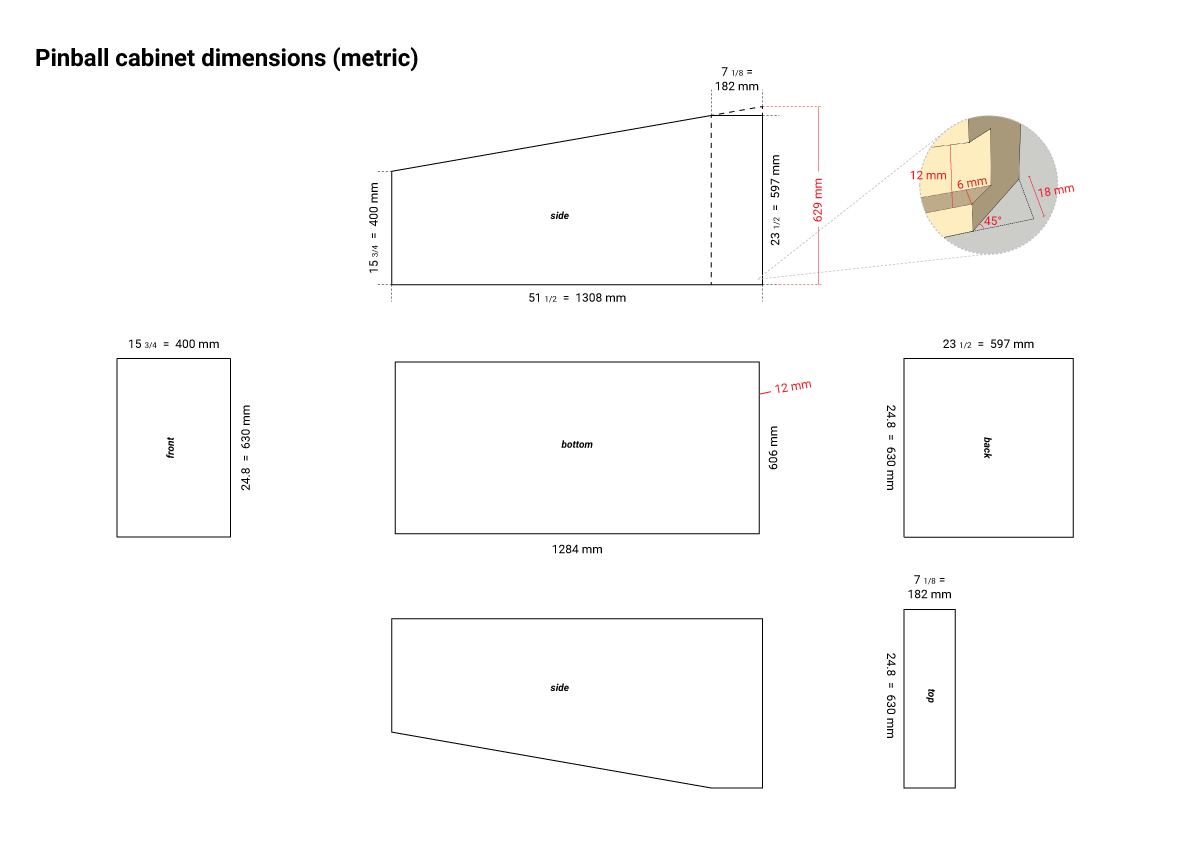
The real challenge will be to convert the dimensions from imperial to metrical. Then, the first “problem” I encounter is that 19mm wood is hard to come by here in the Netherlands. They do sell lots of 18mm wood, so that will be my choice for the thickness. For the bottom and the back of the backbox I will use 12mm. The cabinet will be made out of MDF instead of plywood, mainly to reduce costs.
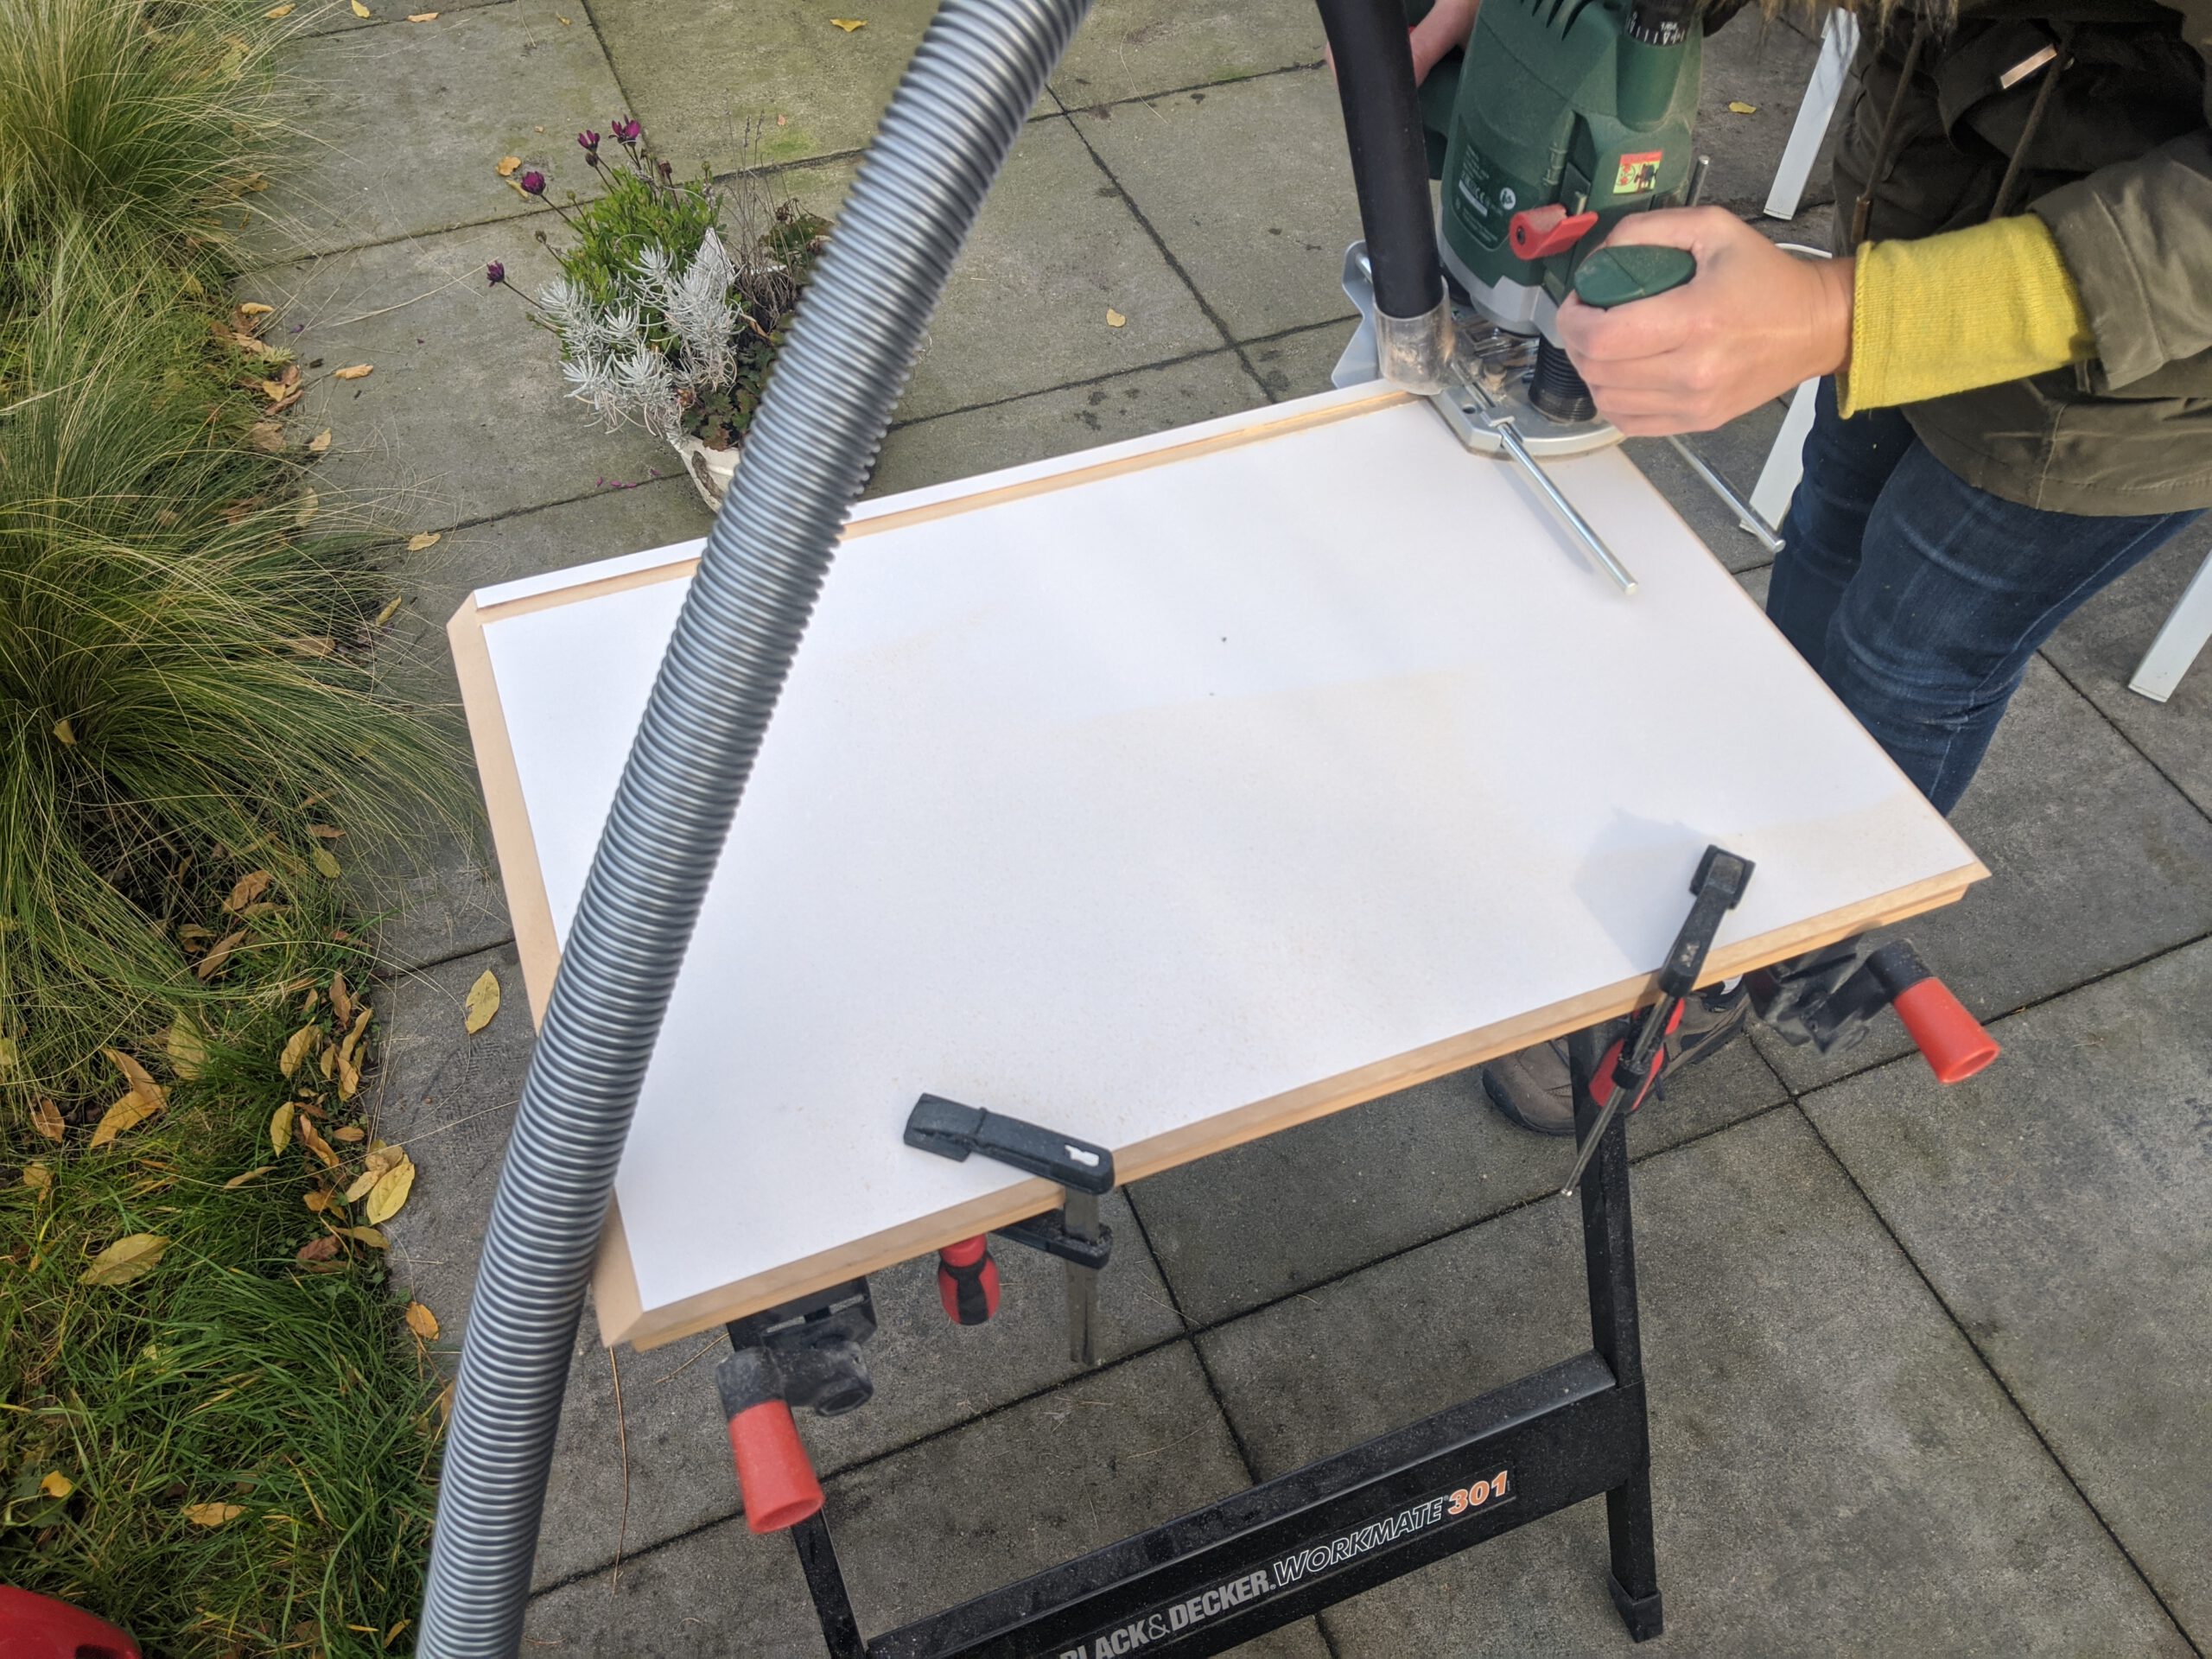
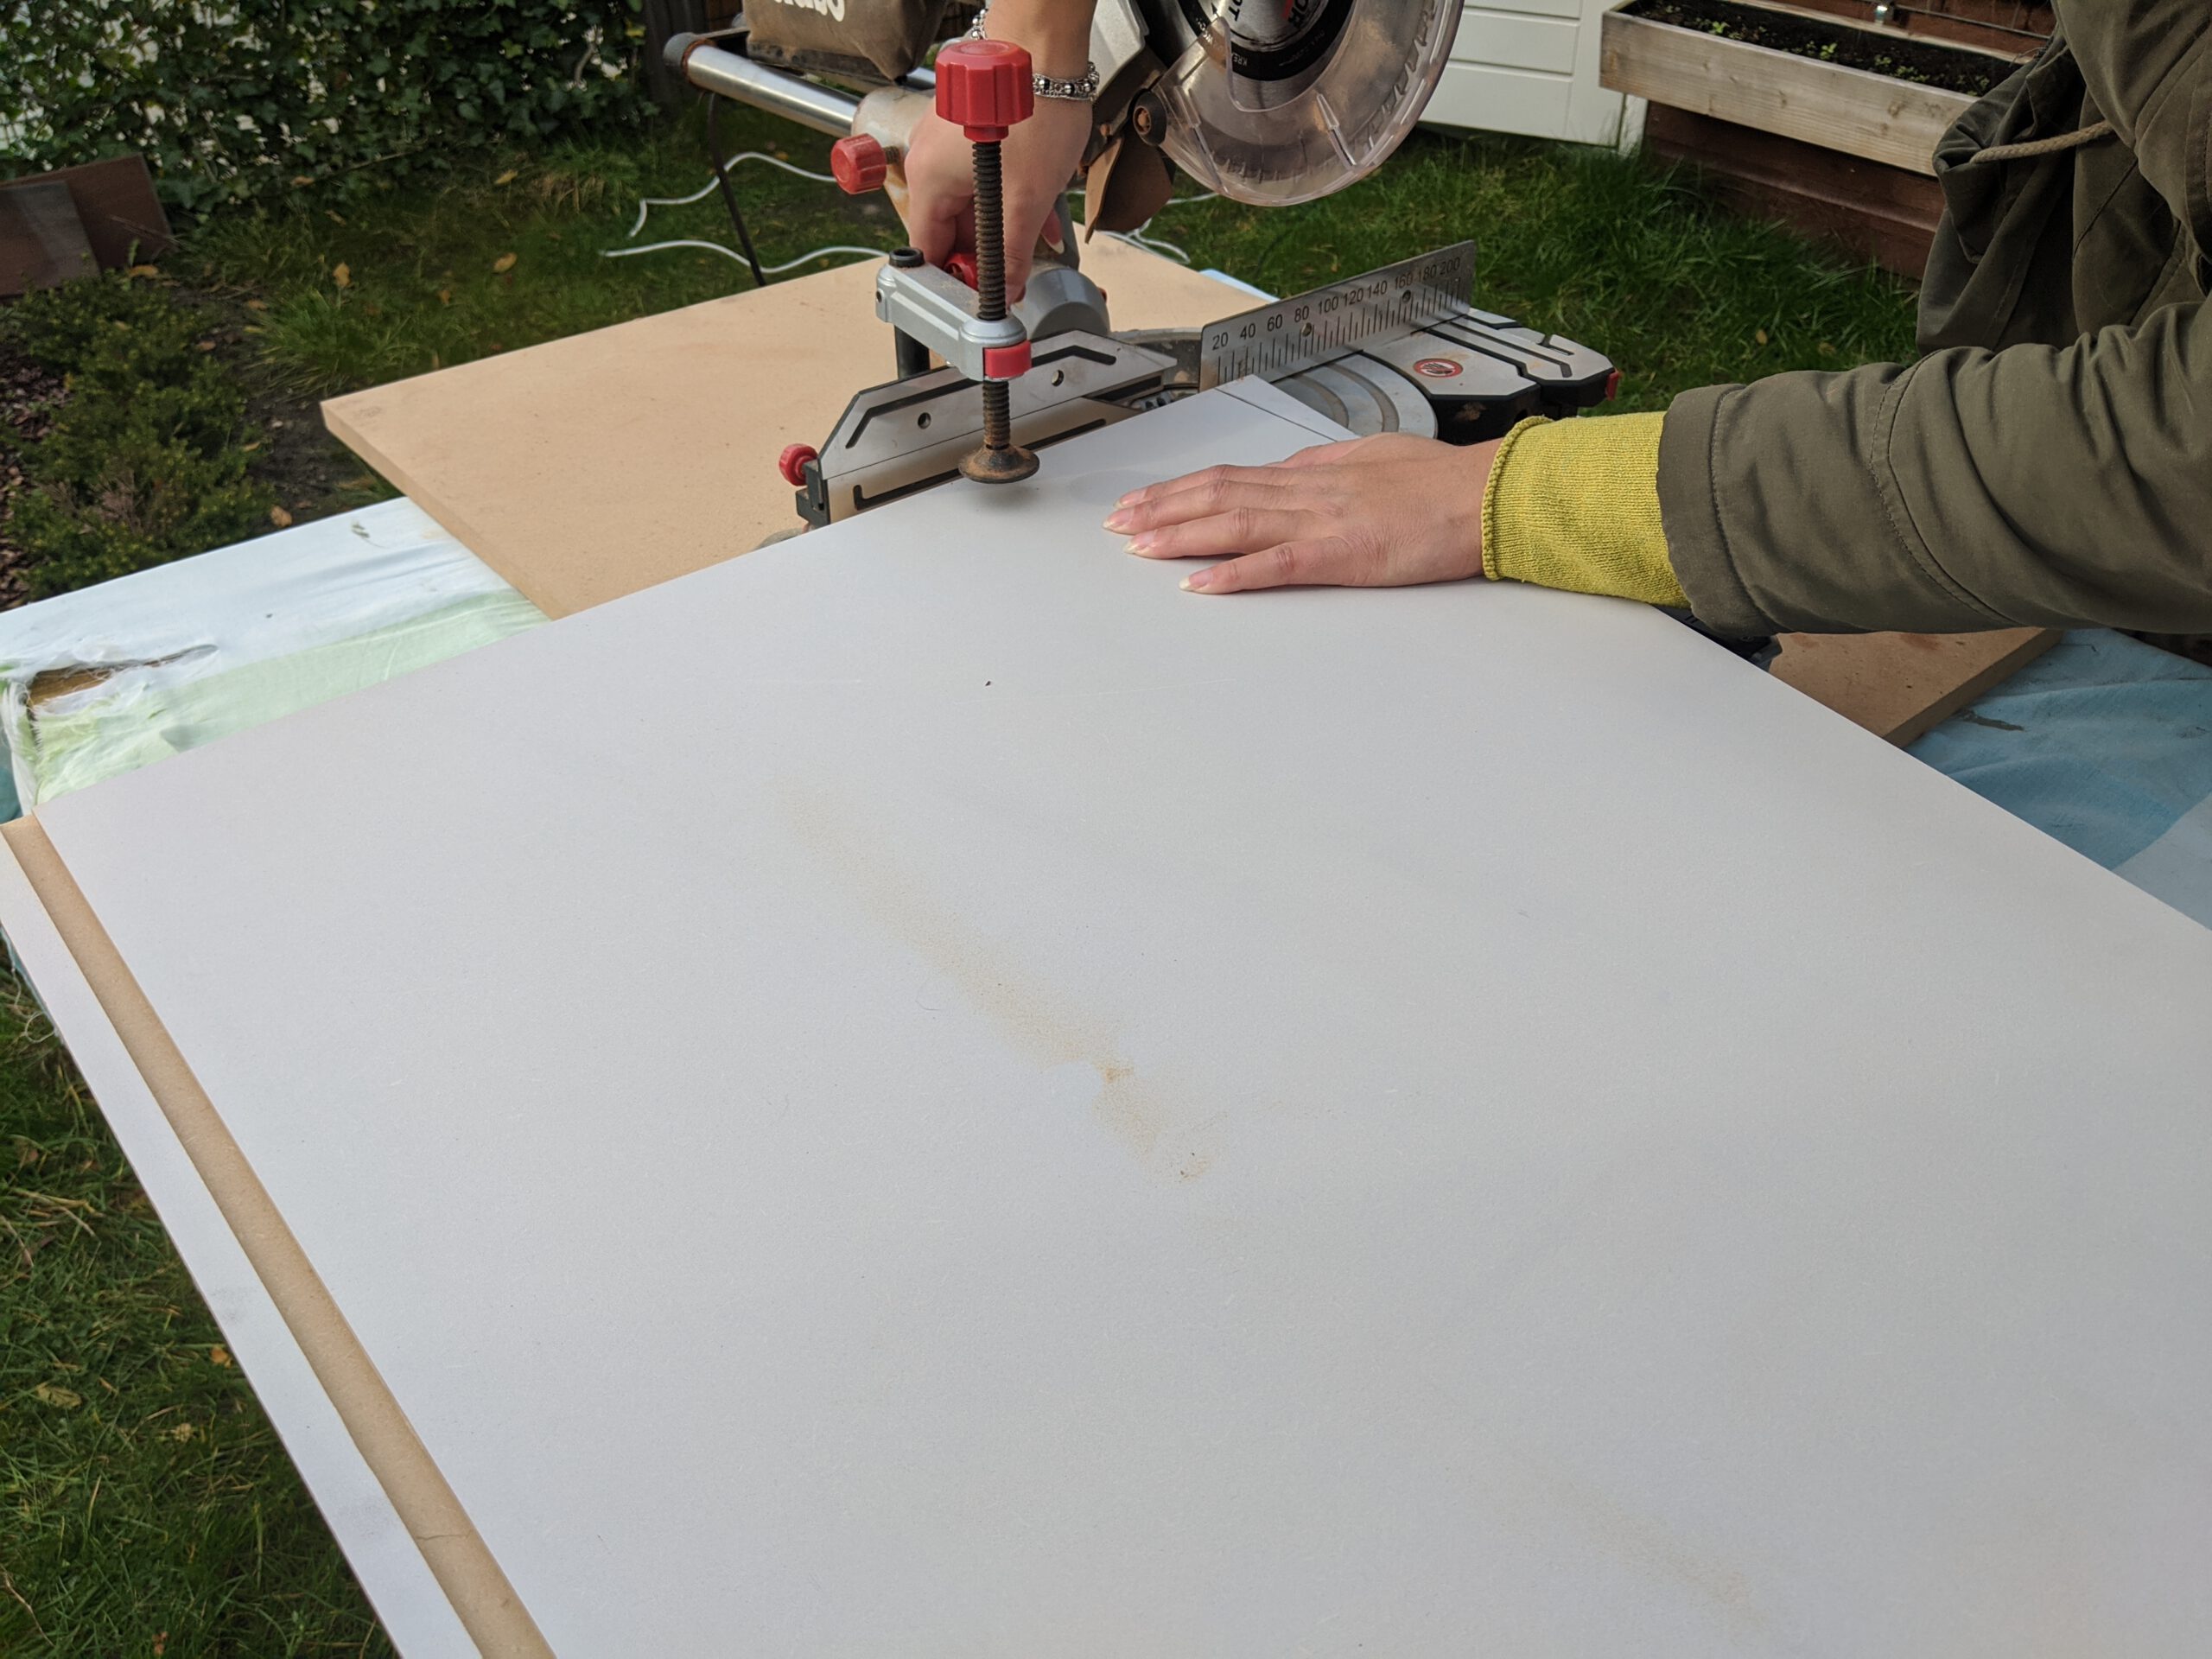
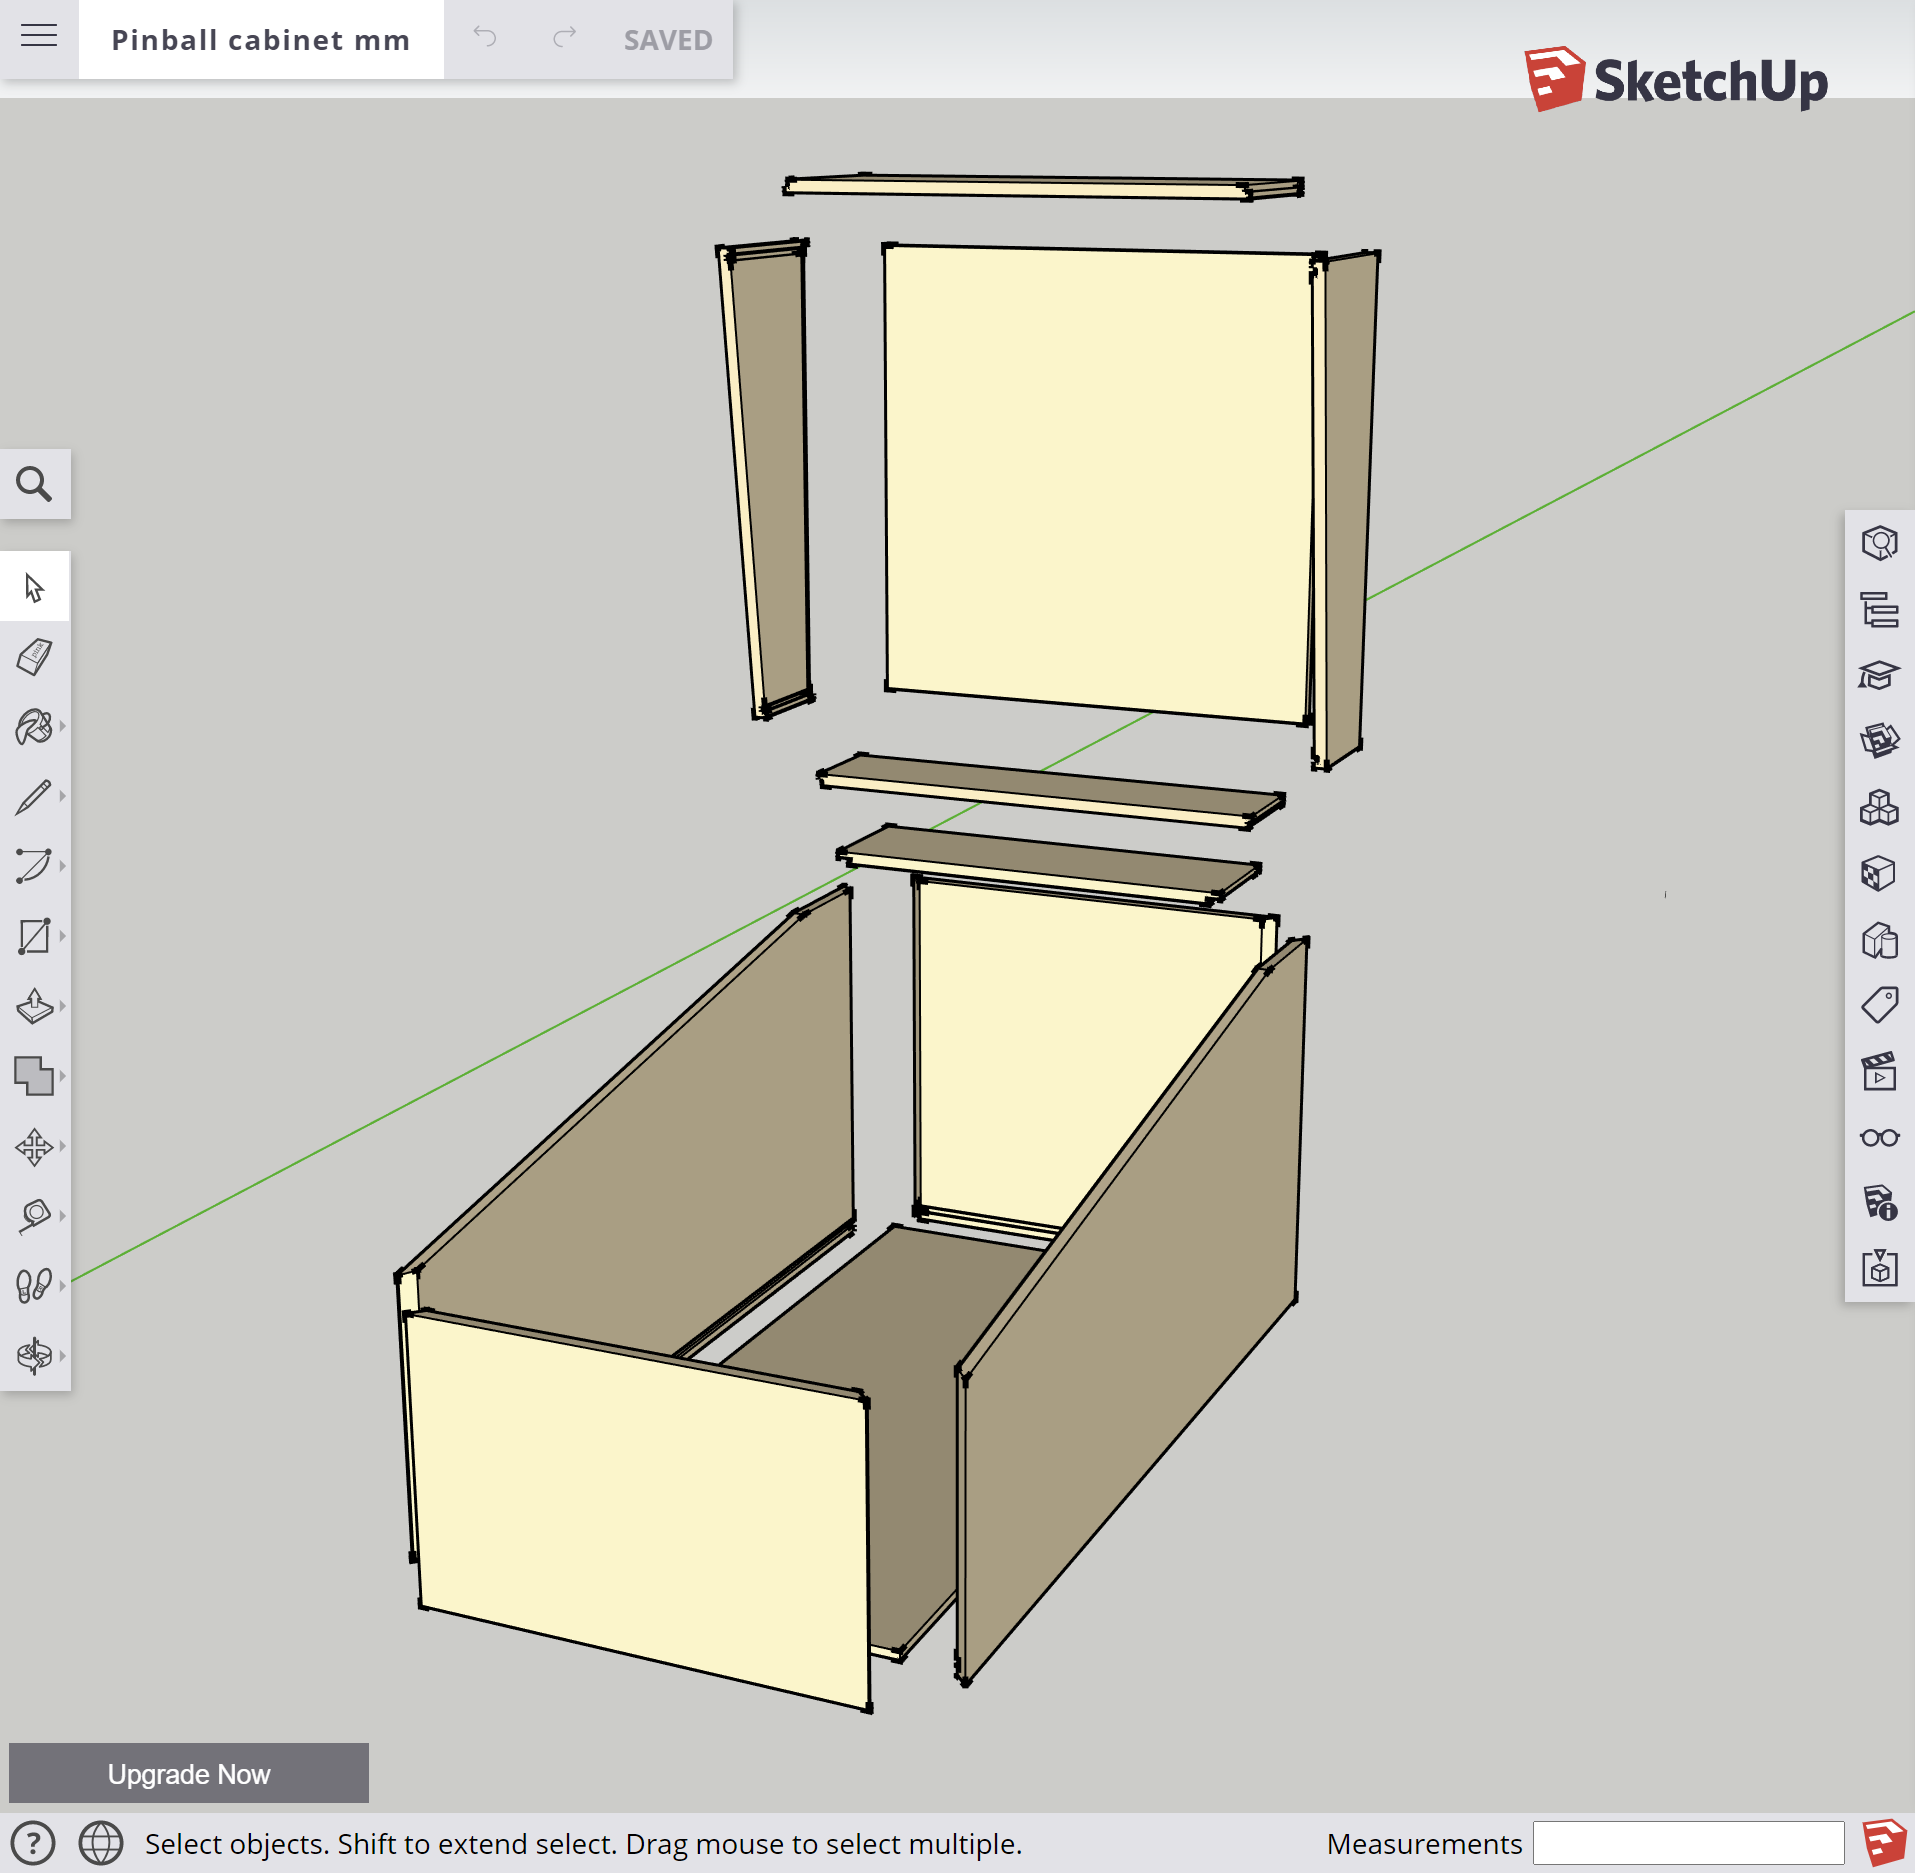
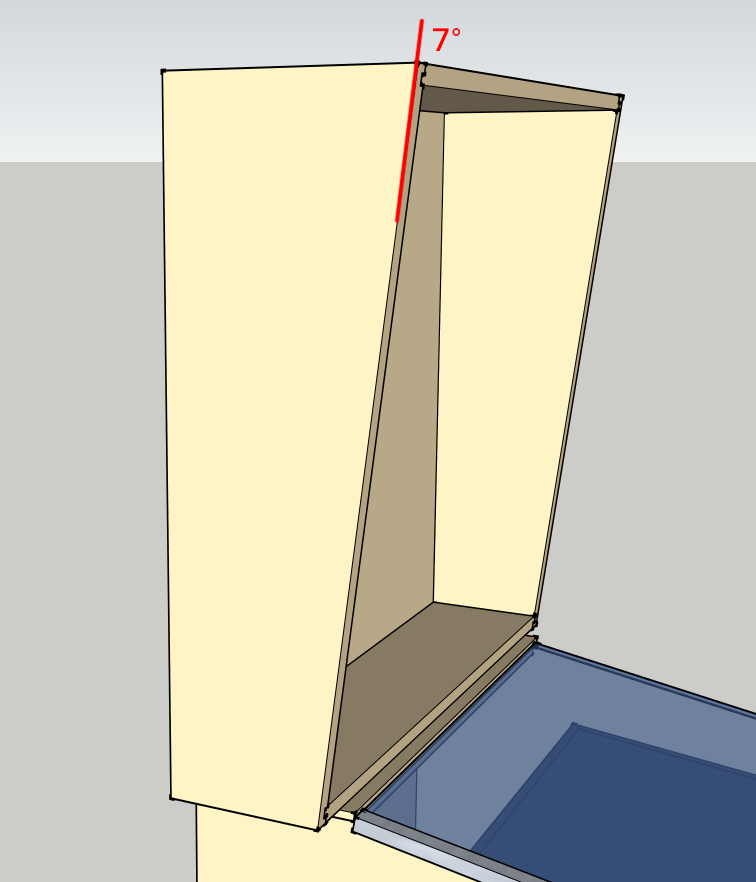
All of the other dimensions have to be converted as well. For this I want to make some detailed drawings. I will also try to make a 3D model in SketchUp.
2. Playfield monitor
Just as important as the cabinet is the playfield monitor. You can either choose to build a cabinet around the monitor of your choice, or look for a monitor that fits your cabinet. I want the cabinet to resemble a real pinball machine as closely as possible. Therefore I have decided to use the WPC95 Widebody dimensions. Real pinball games using these standard dimensions include Twilight Zone, Star Trek: The Next Generation and Indiana Jones. Choosing widebody means that you will have less “dead space” around your playfield monitor, since the ratio of the playfield is closer to the 16:9 ratio of most monitors.
3. Buttons
Another thing to consider is which buttons I want to include on the machine, apart from the Start button and two flipper buttons. I know that virtual pinball often needs more buttons than real pinball machines do, but I also prefer a minimalistic approach. A summary of my considerations:
Essential buttons
- Power button. I want to have one button that powers up all monitors and hardware at once. Location will probably be at the bottom of the cabinet, like with a real pinball machine.
- Start button, to select and start a game.
- Exit button, to exit the game and be able to select a different table.
- Coin In button. Some virtual games require you to put in credits first, so you need a way to simulate this. I want to use the coin reject buttons from the coin door for this.
- Magna Save buttons. Some games have extra buttons for magna save or other special features. The magna save buttons can be programmed to handle all sorts of functions.
- Operator buttons, hidden inside the coin door. These will allow me to access menus or change the volume for instance.
Buttons that are nice to have
- Fire! button, like with newer Stern machines. It can be used to launch the ball or do something special. In my Star Trek premium for instance the button is also used to fire torpedoes at the enemy ship, USS Vengeance.
- Night Mode switch. This button can be used to power off noisy feedback devices such as solenoids.
While reading about the building process I learned that some keyboard encoders actually have a “shift” function that will allow me to add two functions to one button. This way I could add volume controls to the magna save buttons for instance.
4. Feedback devices
Just like real buttons feedback devices can also greatly enhance the experience of playing a virtual pinball table. I’m thinking of implementing the following:
- Plunger.
- Flipper coils. On real pinball machines you can actually feel the flippers moving when touching the buttons. To simulate this effect on a virtual pinball machine you can install a coil mechanism, also known as solenoid.
- Bumpers/slingshots/kickers etc. Same as with the flipper coils.
- Tilt bob and nudge sensor. Instead of making nudge buttons you can choose to install a real tilt bob and a nudge sensor. The sensor will sense the direction in which you are nudging and the computer translates this accordingly. Too much nudging will activate the tilt bob, causing the machine to tilt.
- Shaker motor.
- …
5. Other things to consider
- Lights, addressable LED strips, maybe even a LED matrix at the back of the playfield?
- Kinect to create a 3D effect for Future Pinball tables.
- Real DMD versus LCD as a third screen
- …
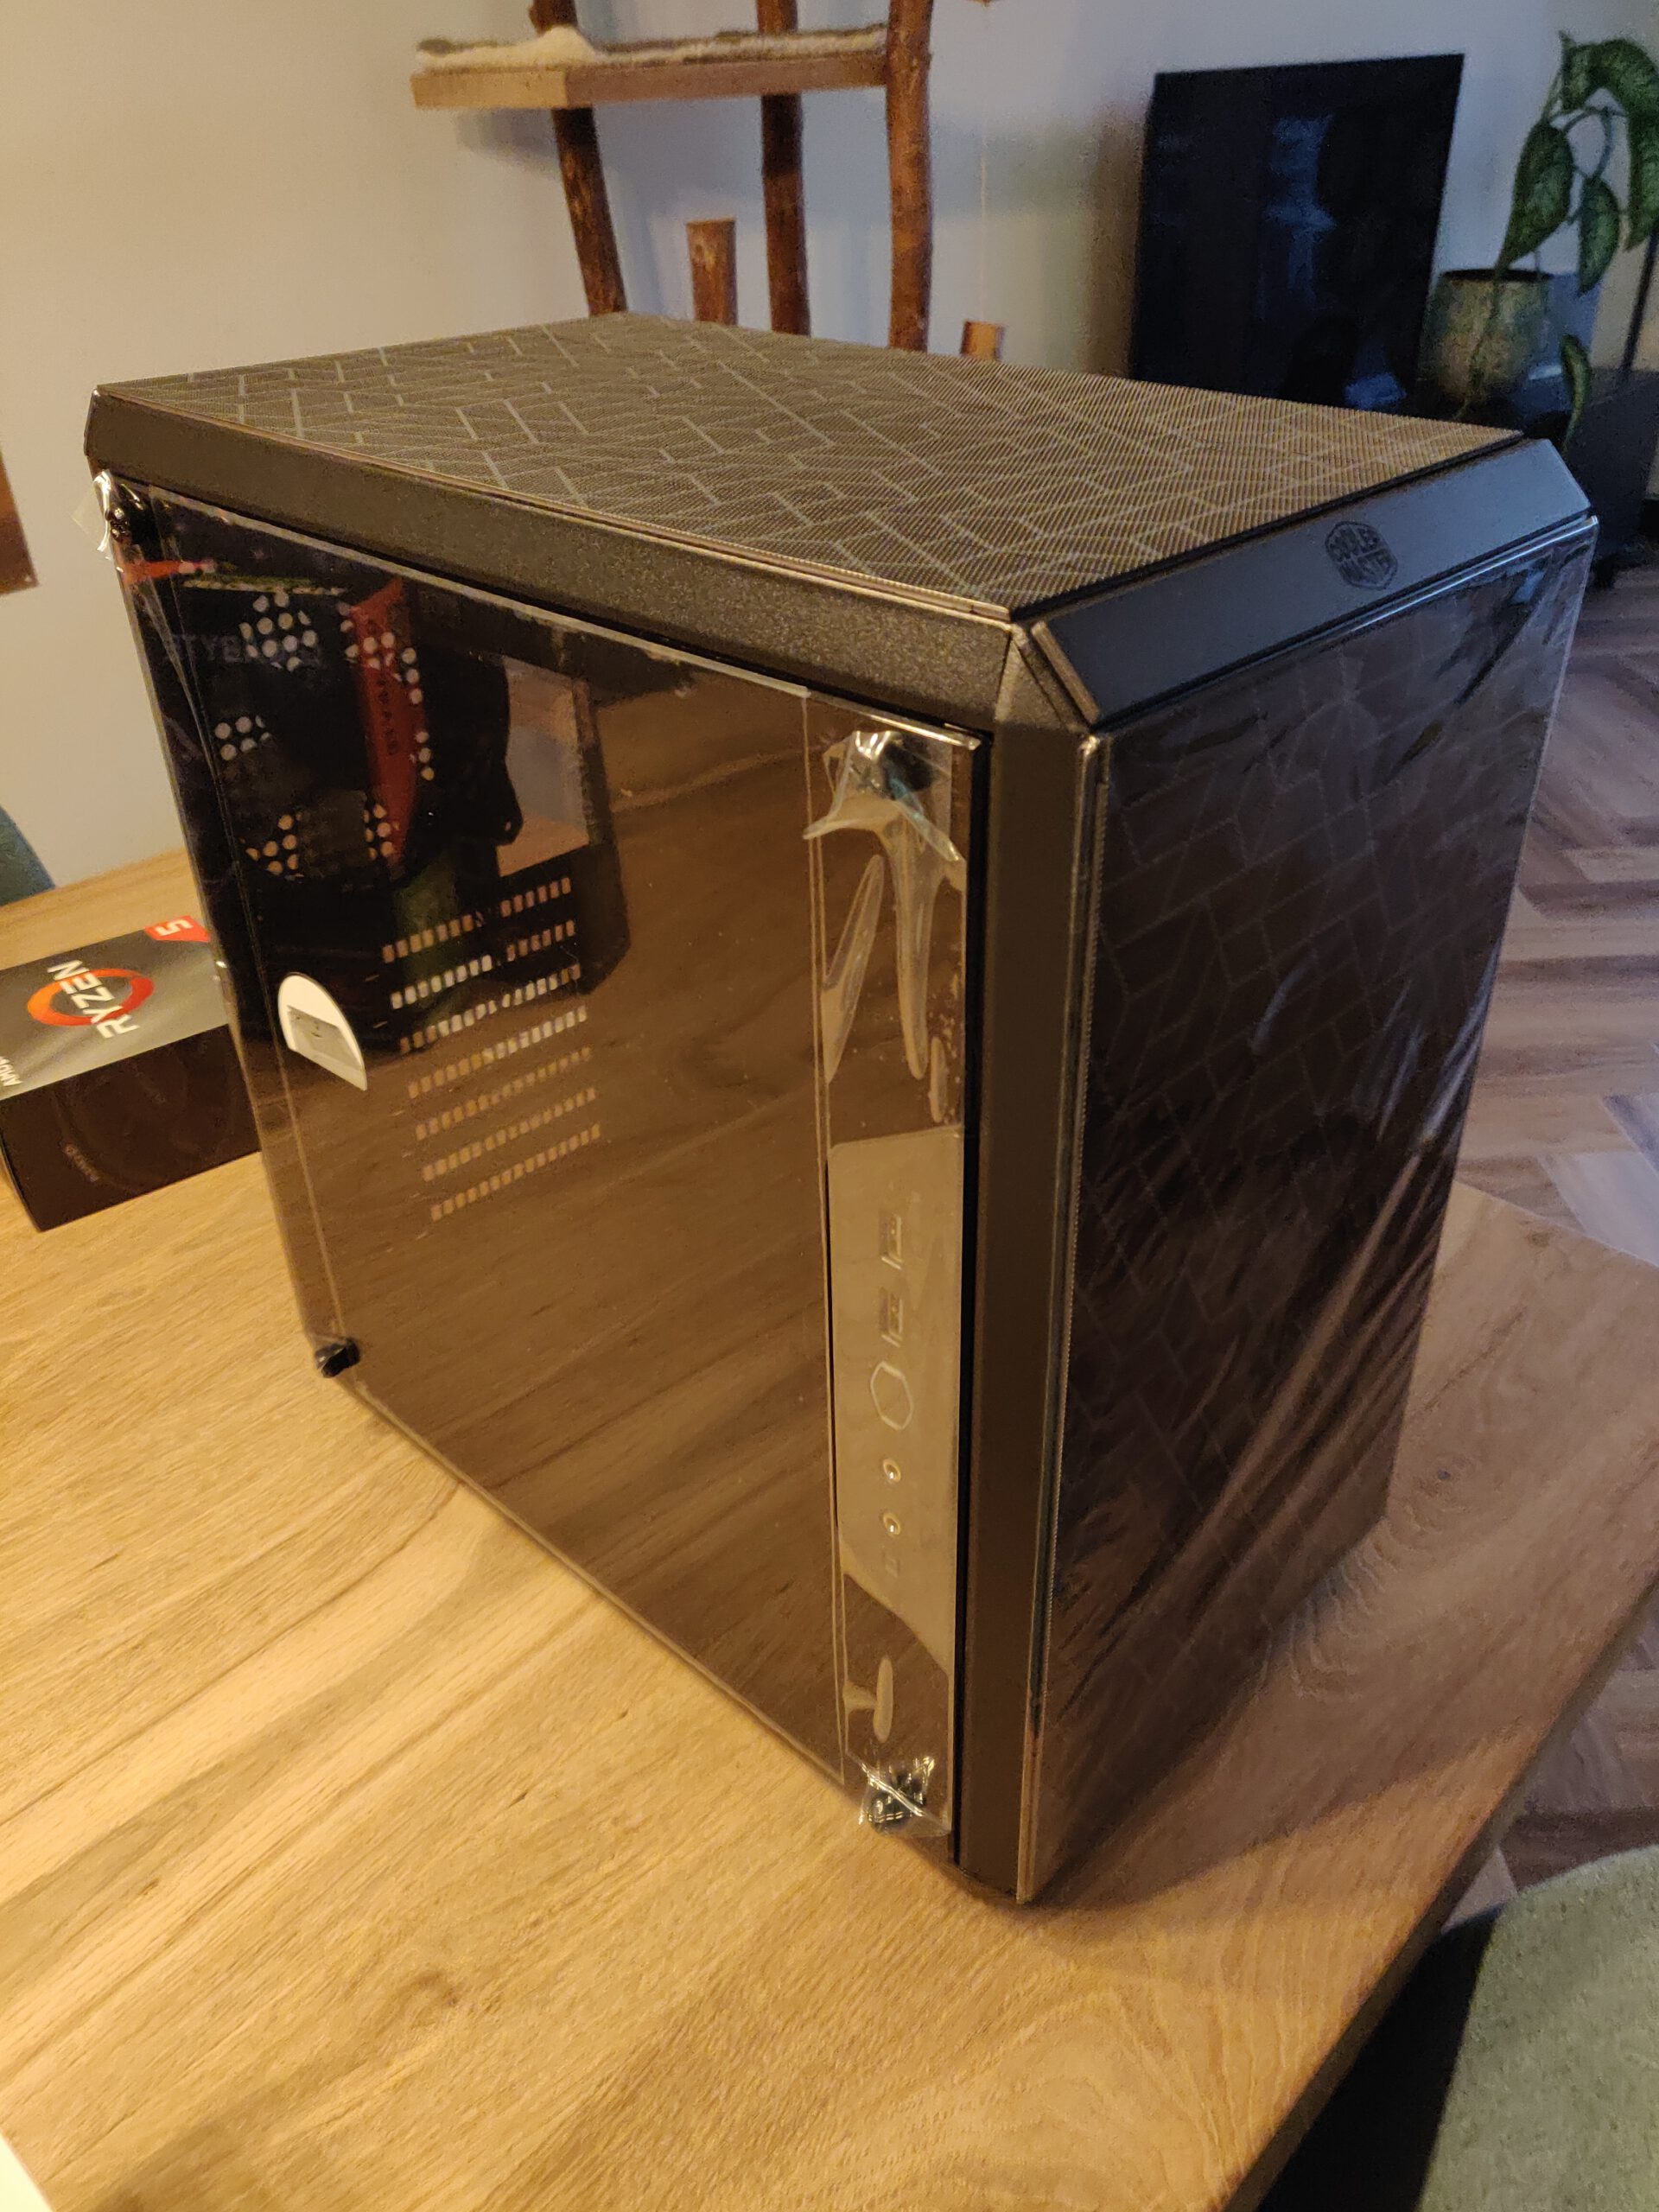 ↪ The case of our choice is a fairly compact one made by Cooler Master. The reason we choose to put the computer hardware in a case is to protect against dust or falling objects. Cool detail is the transparent side.
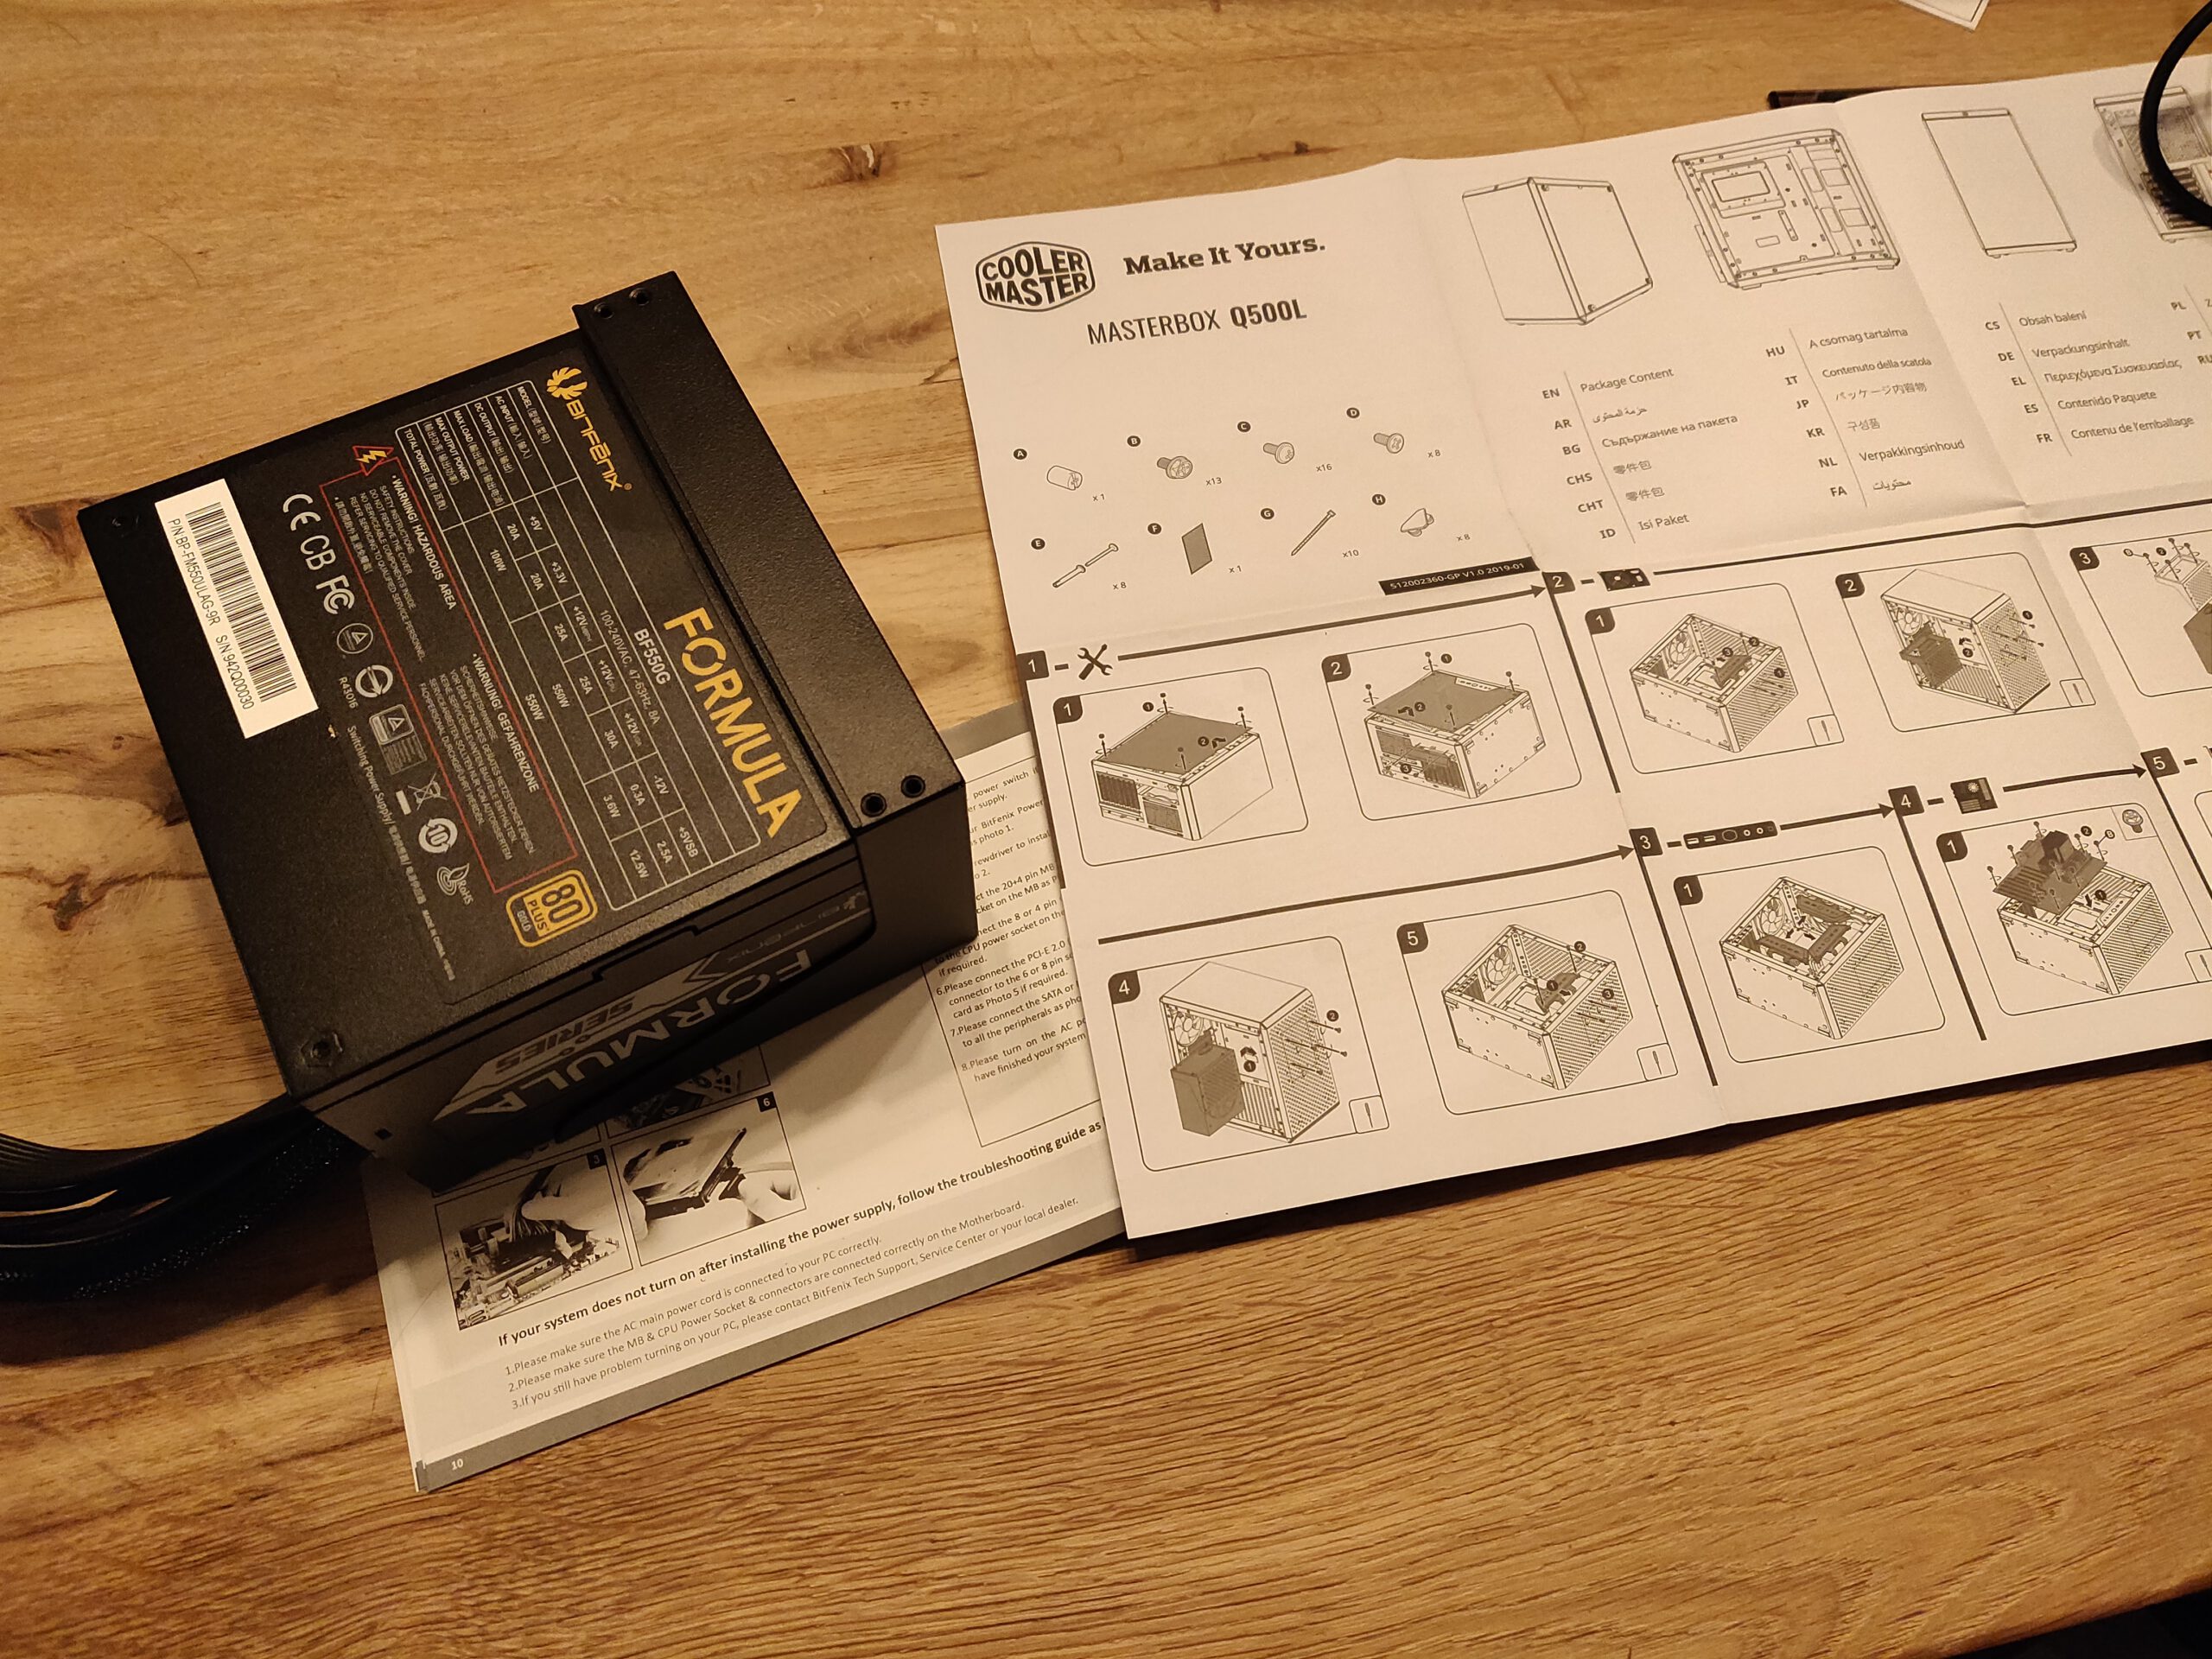 ↪ Luckily the MasterBox comes with a manual that guides us through the process of installing all hardware. First we need to put in the PSU.
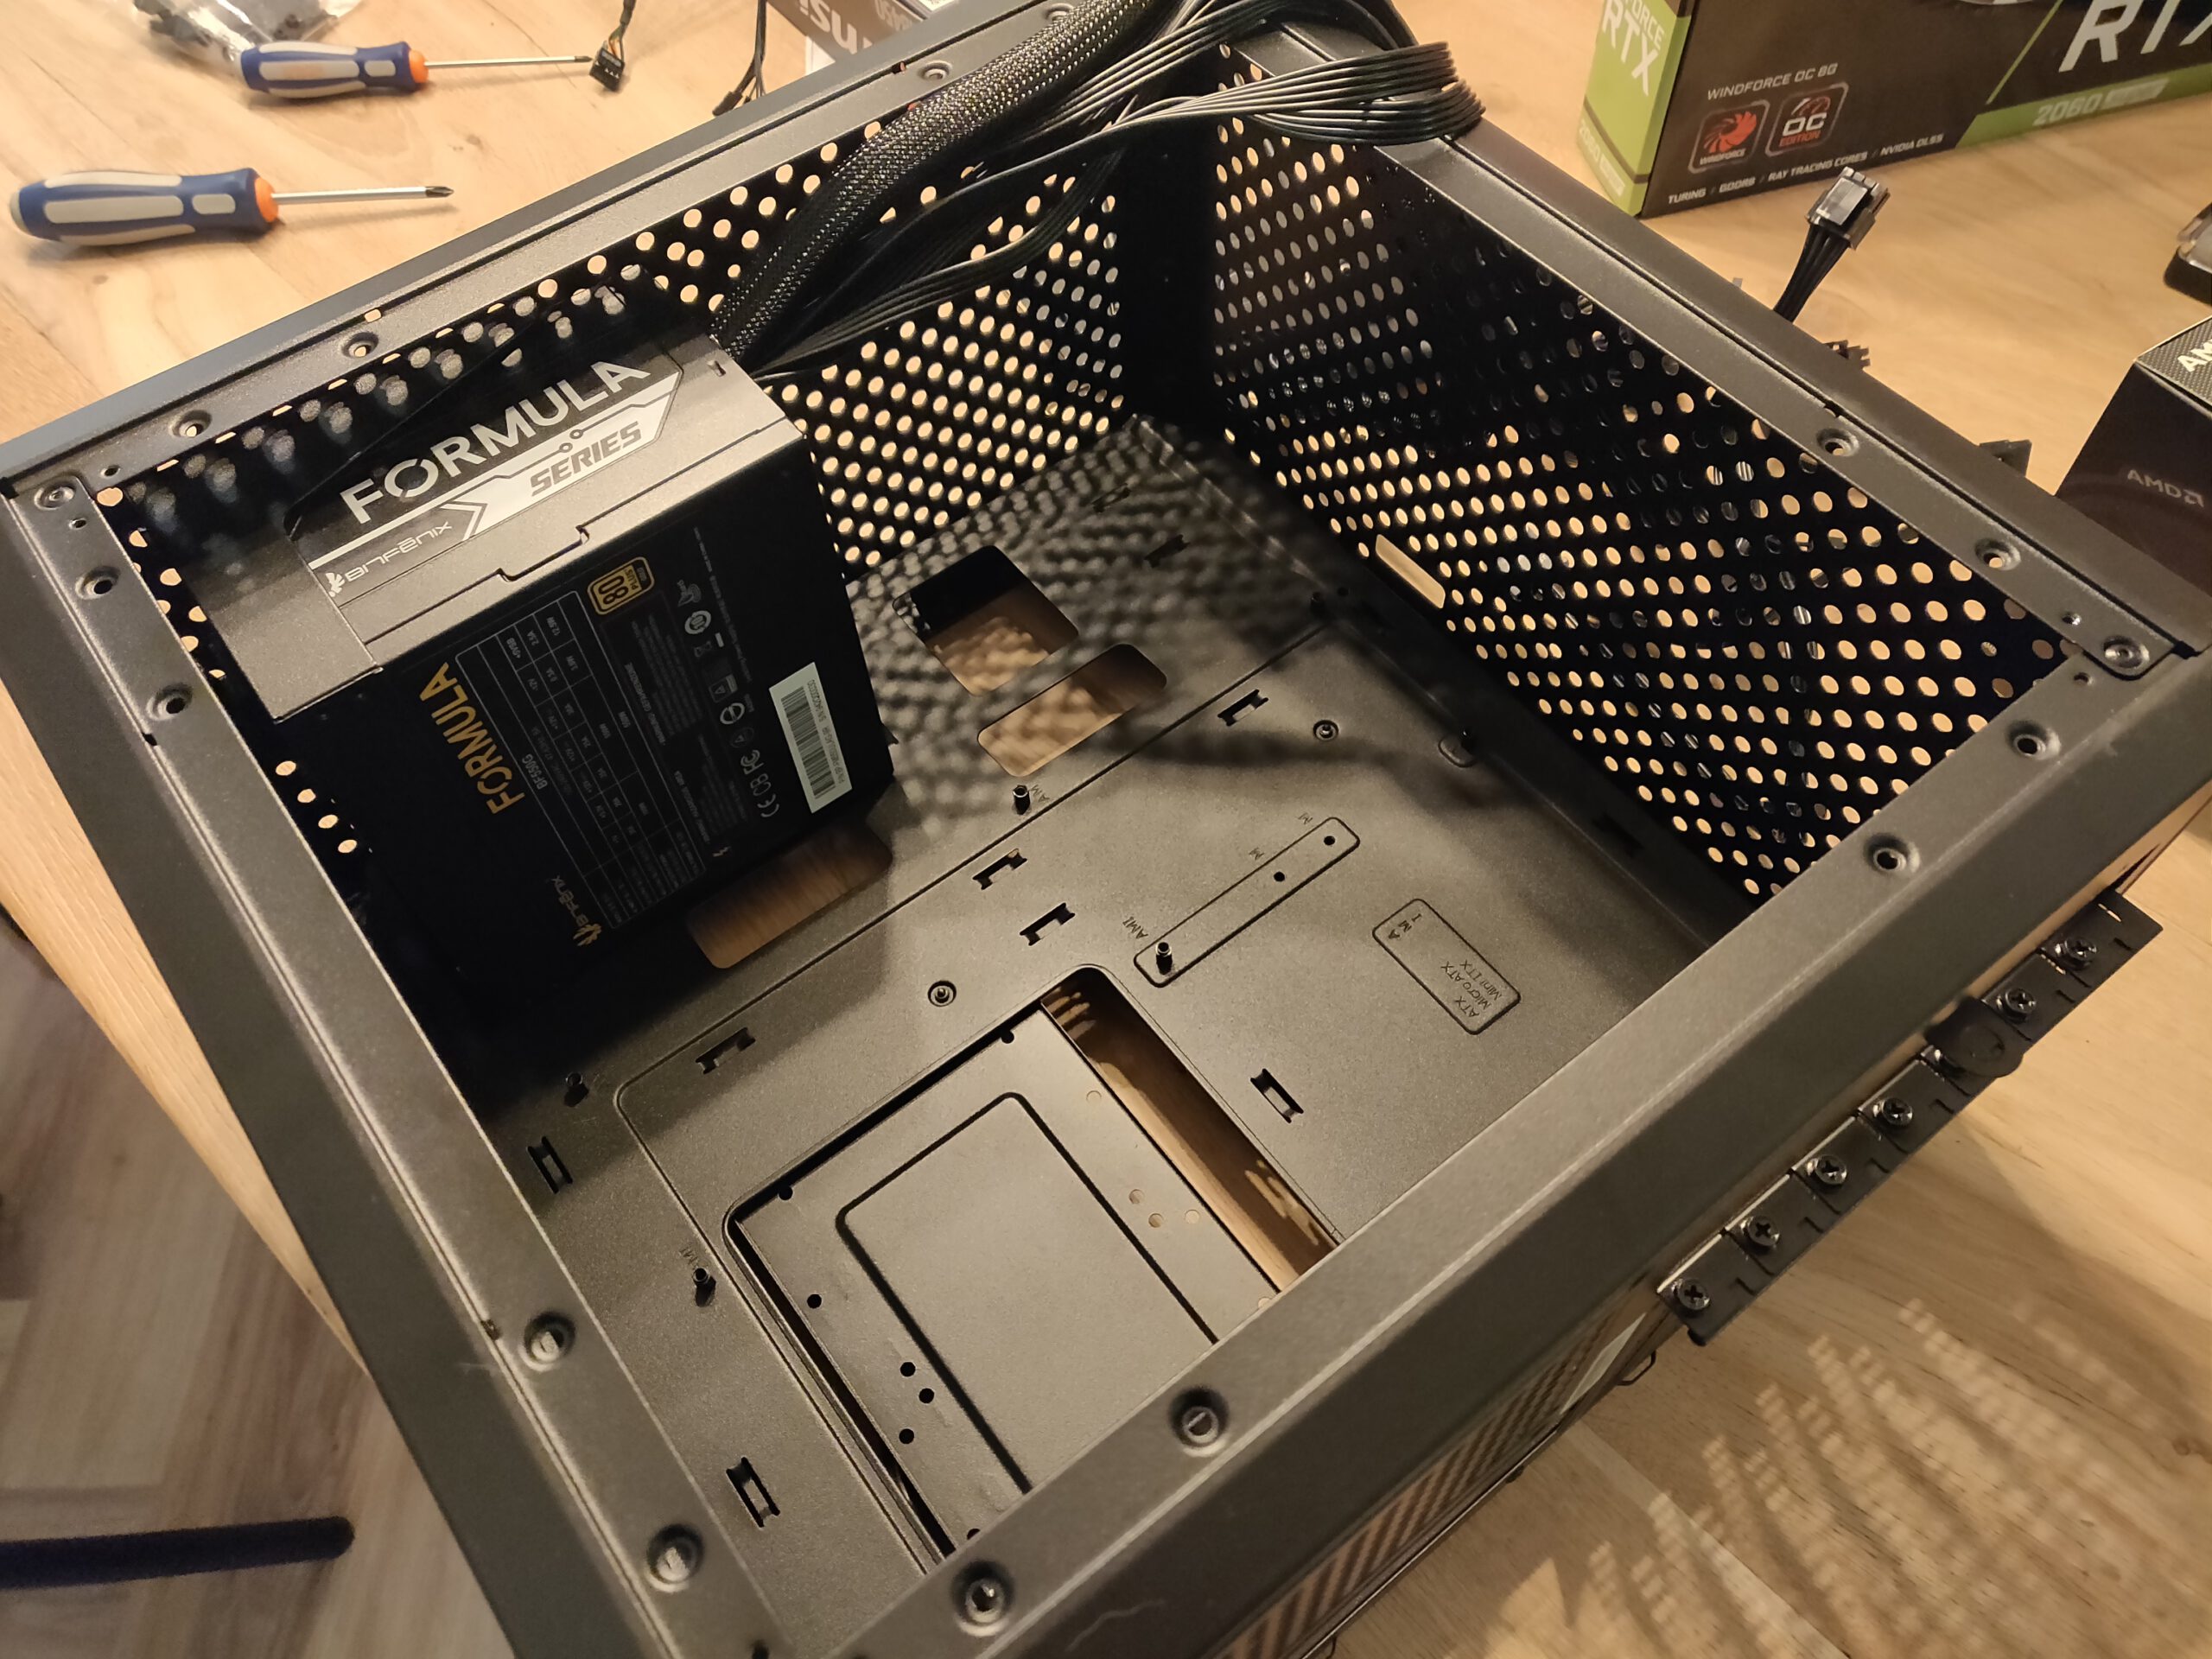
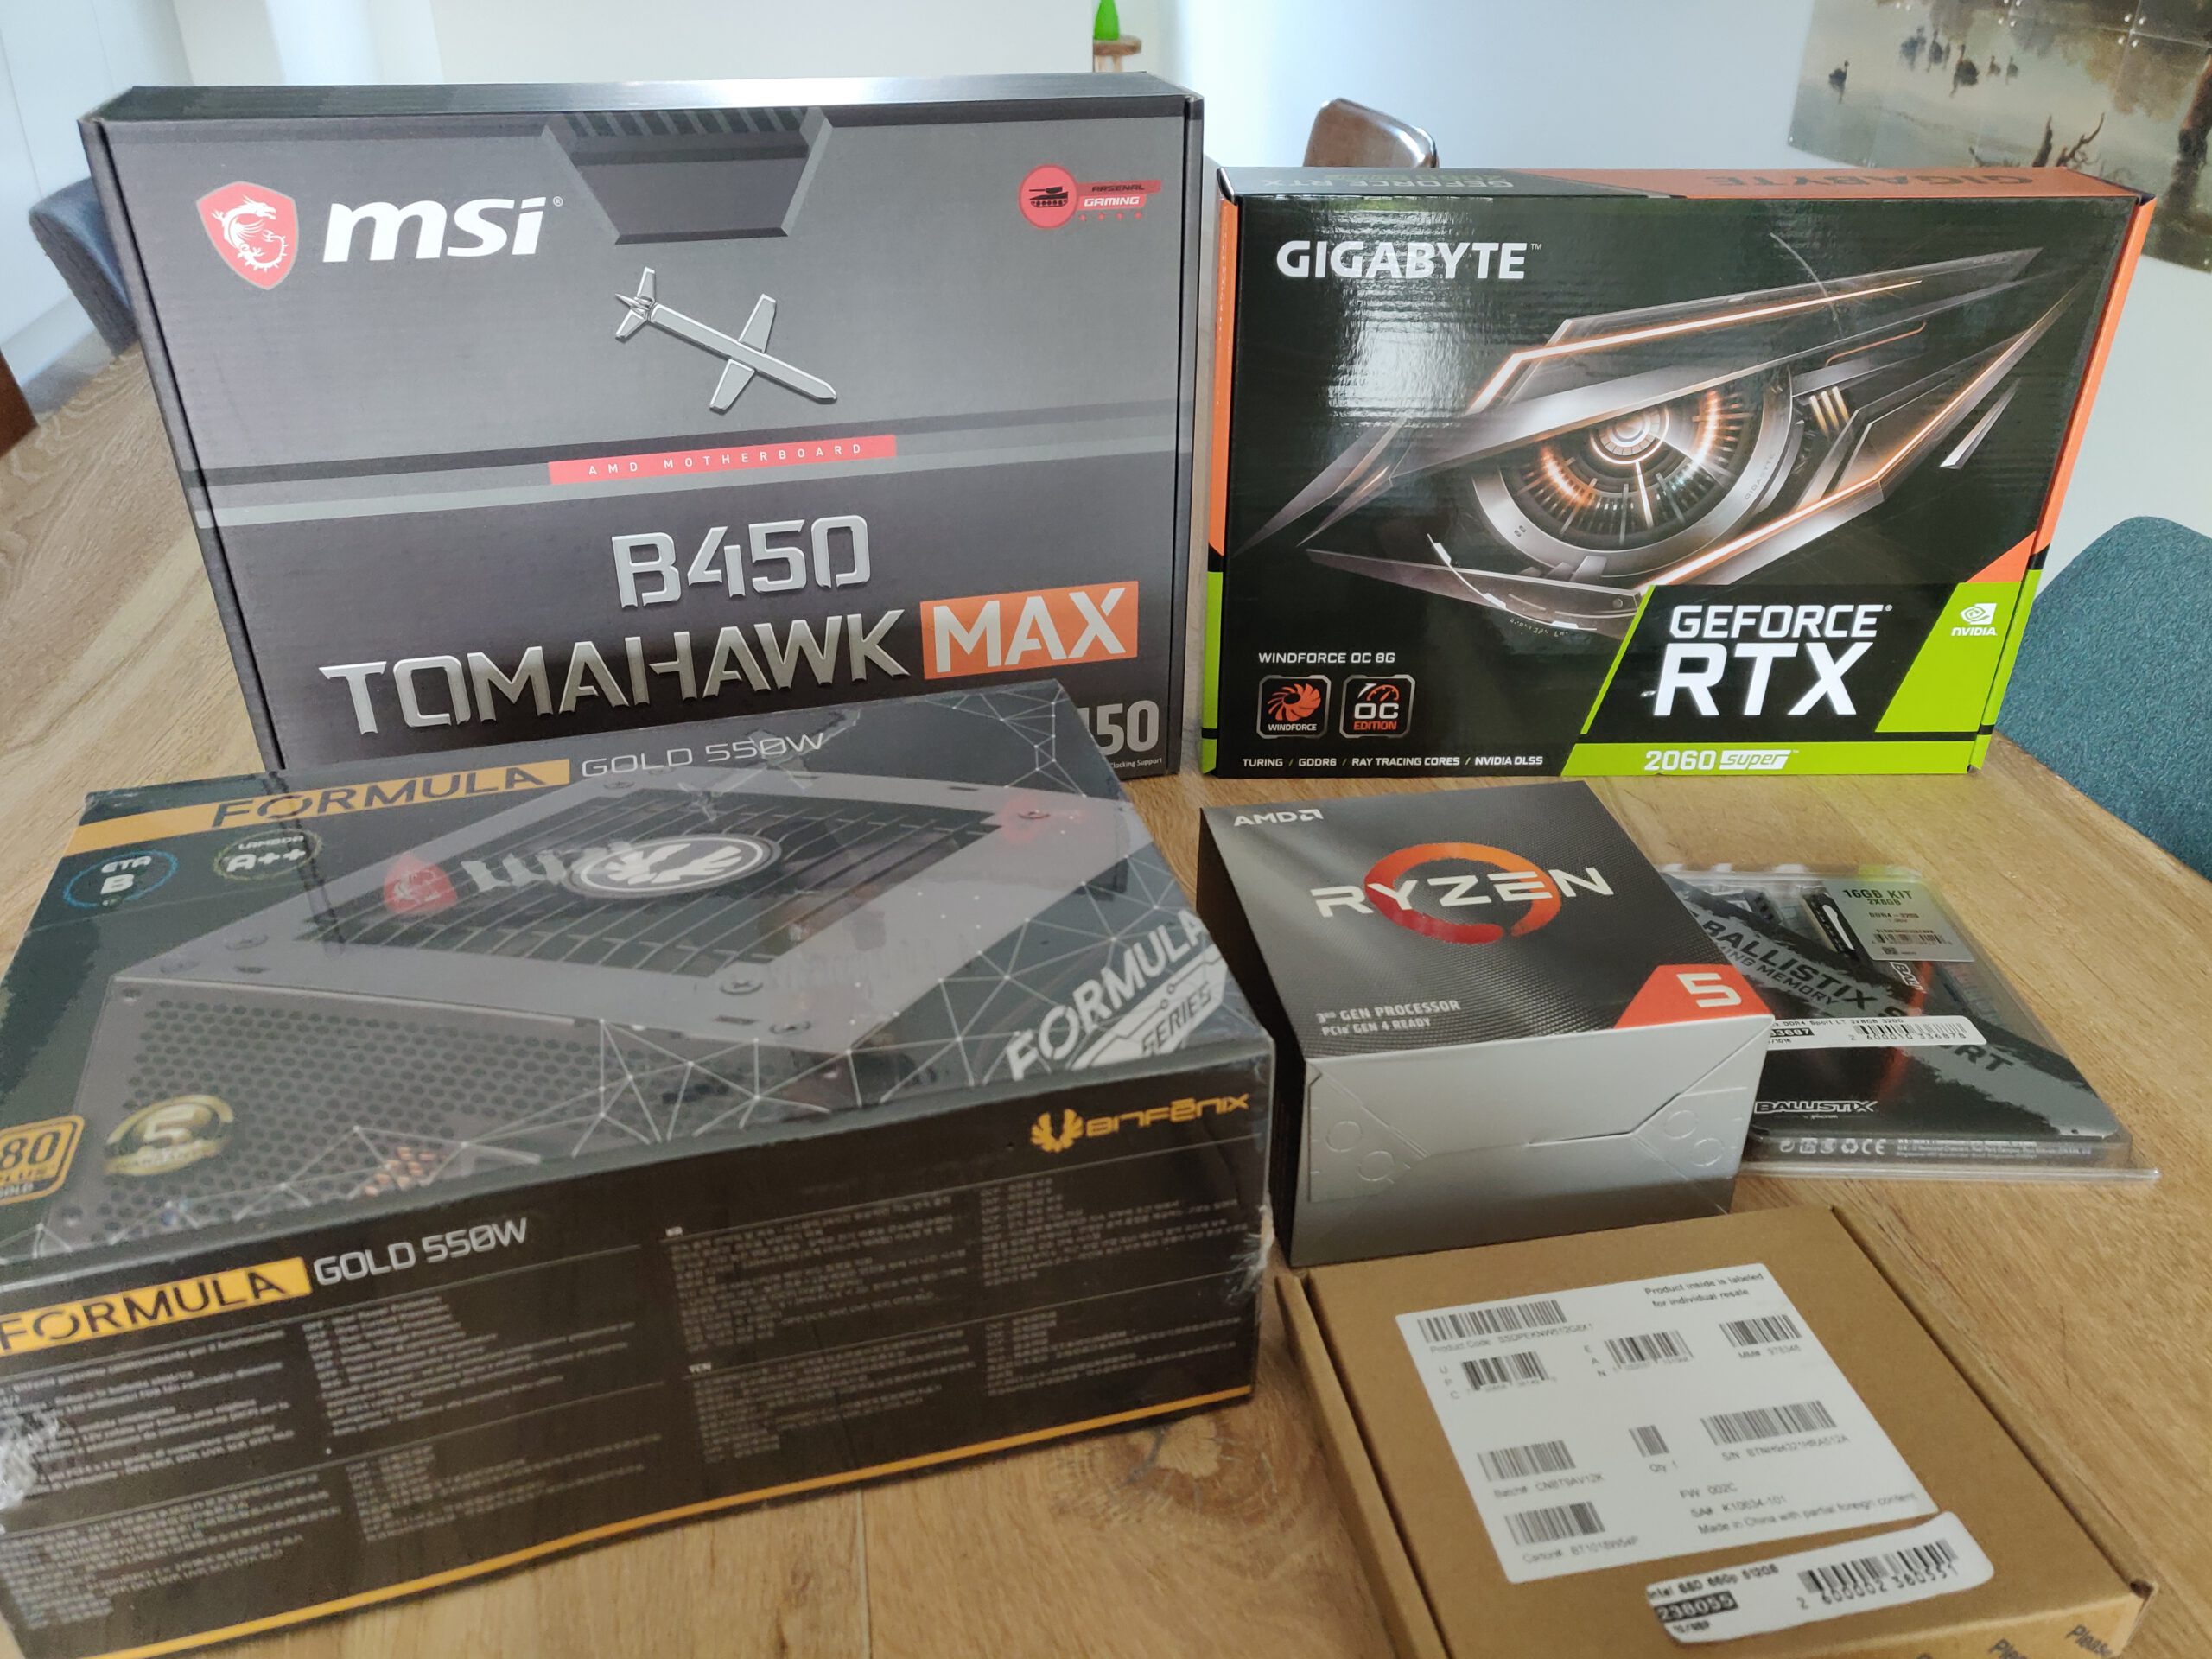
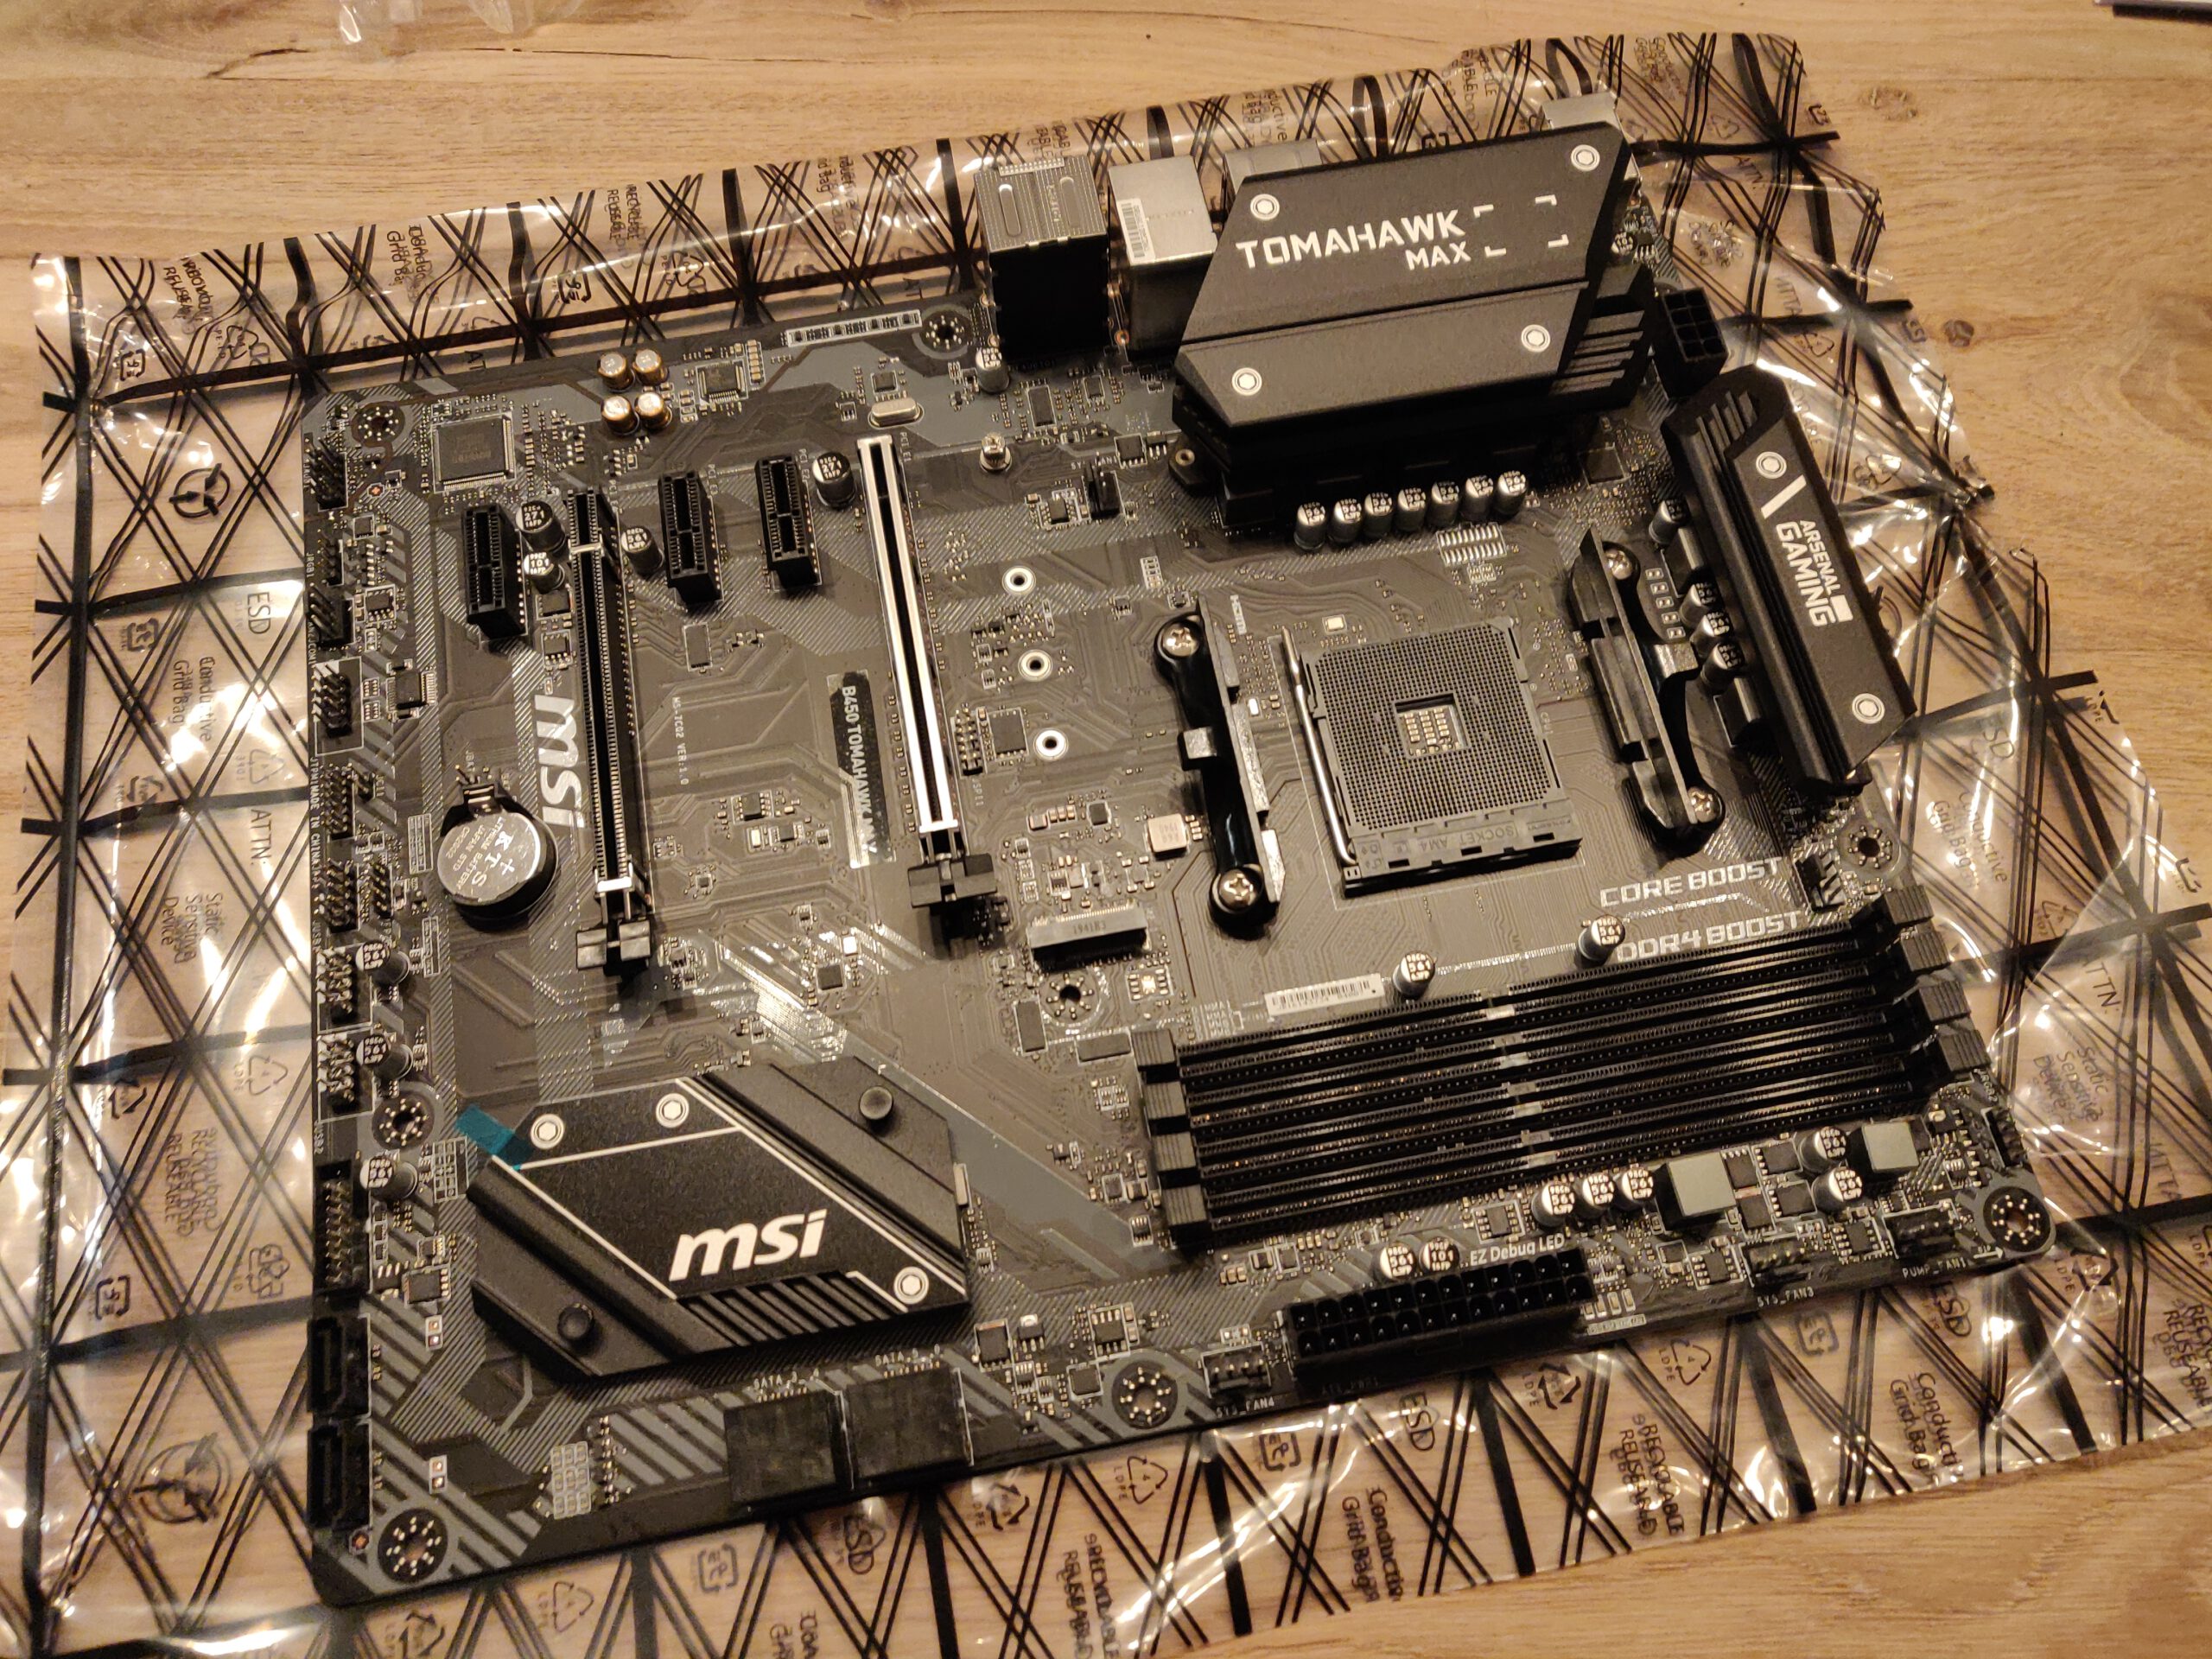 ↪ Next up is the motherboard.
  ↪ But before we can put it in the case, we need to install the CPU…
 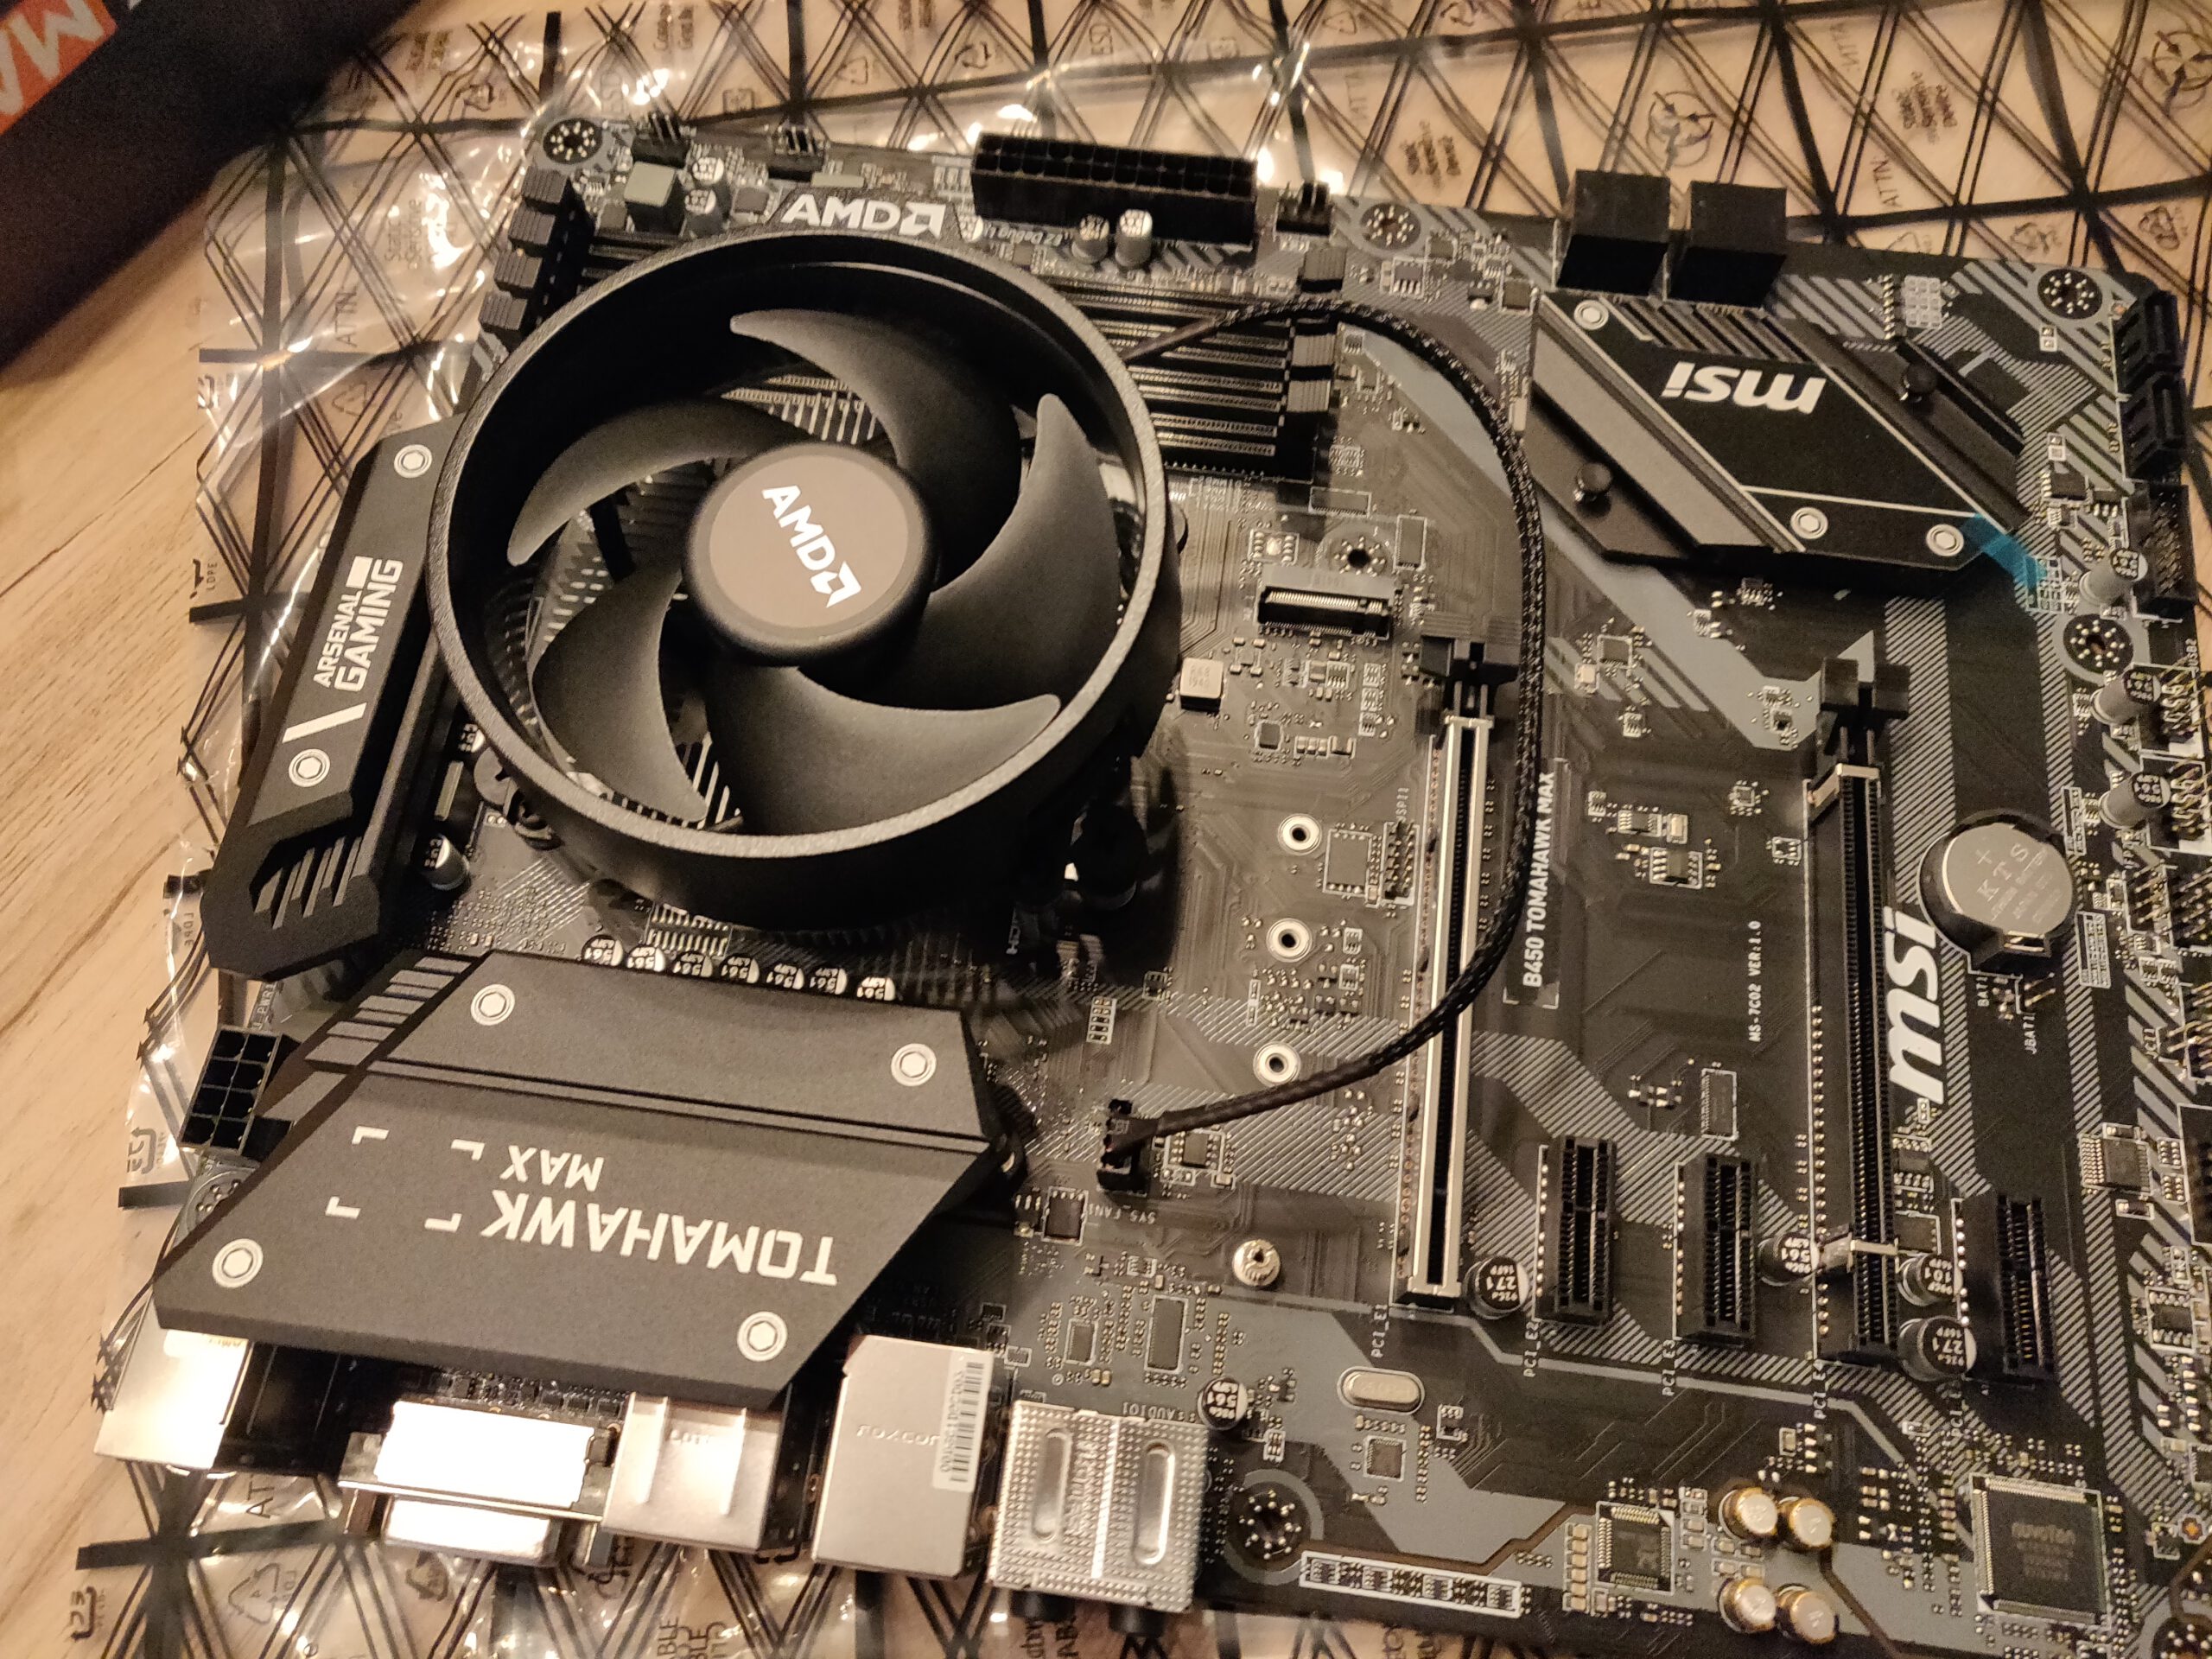 ↪ … the CPU fan…
 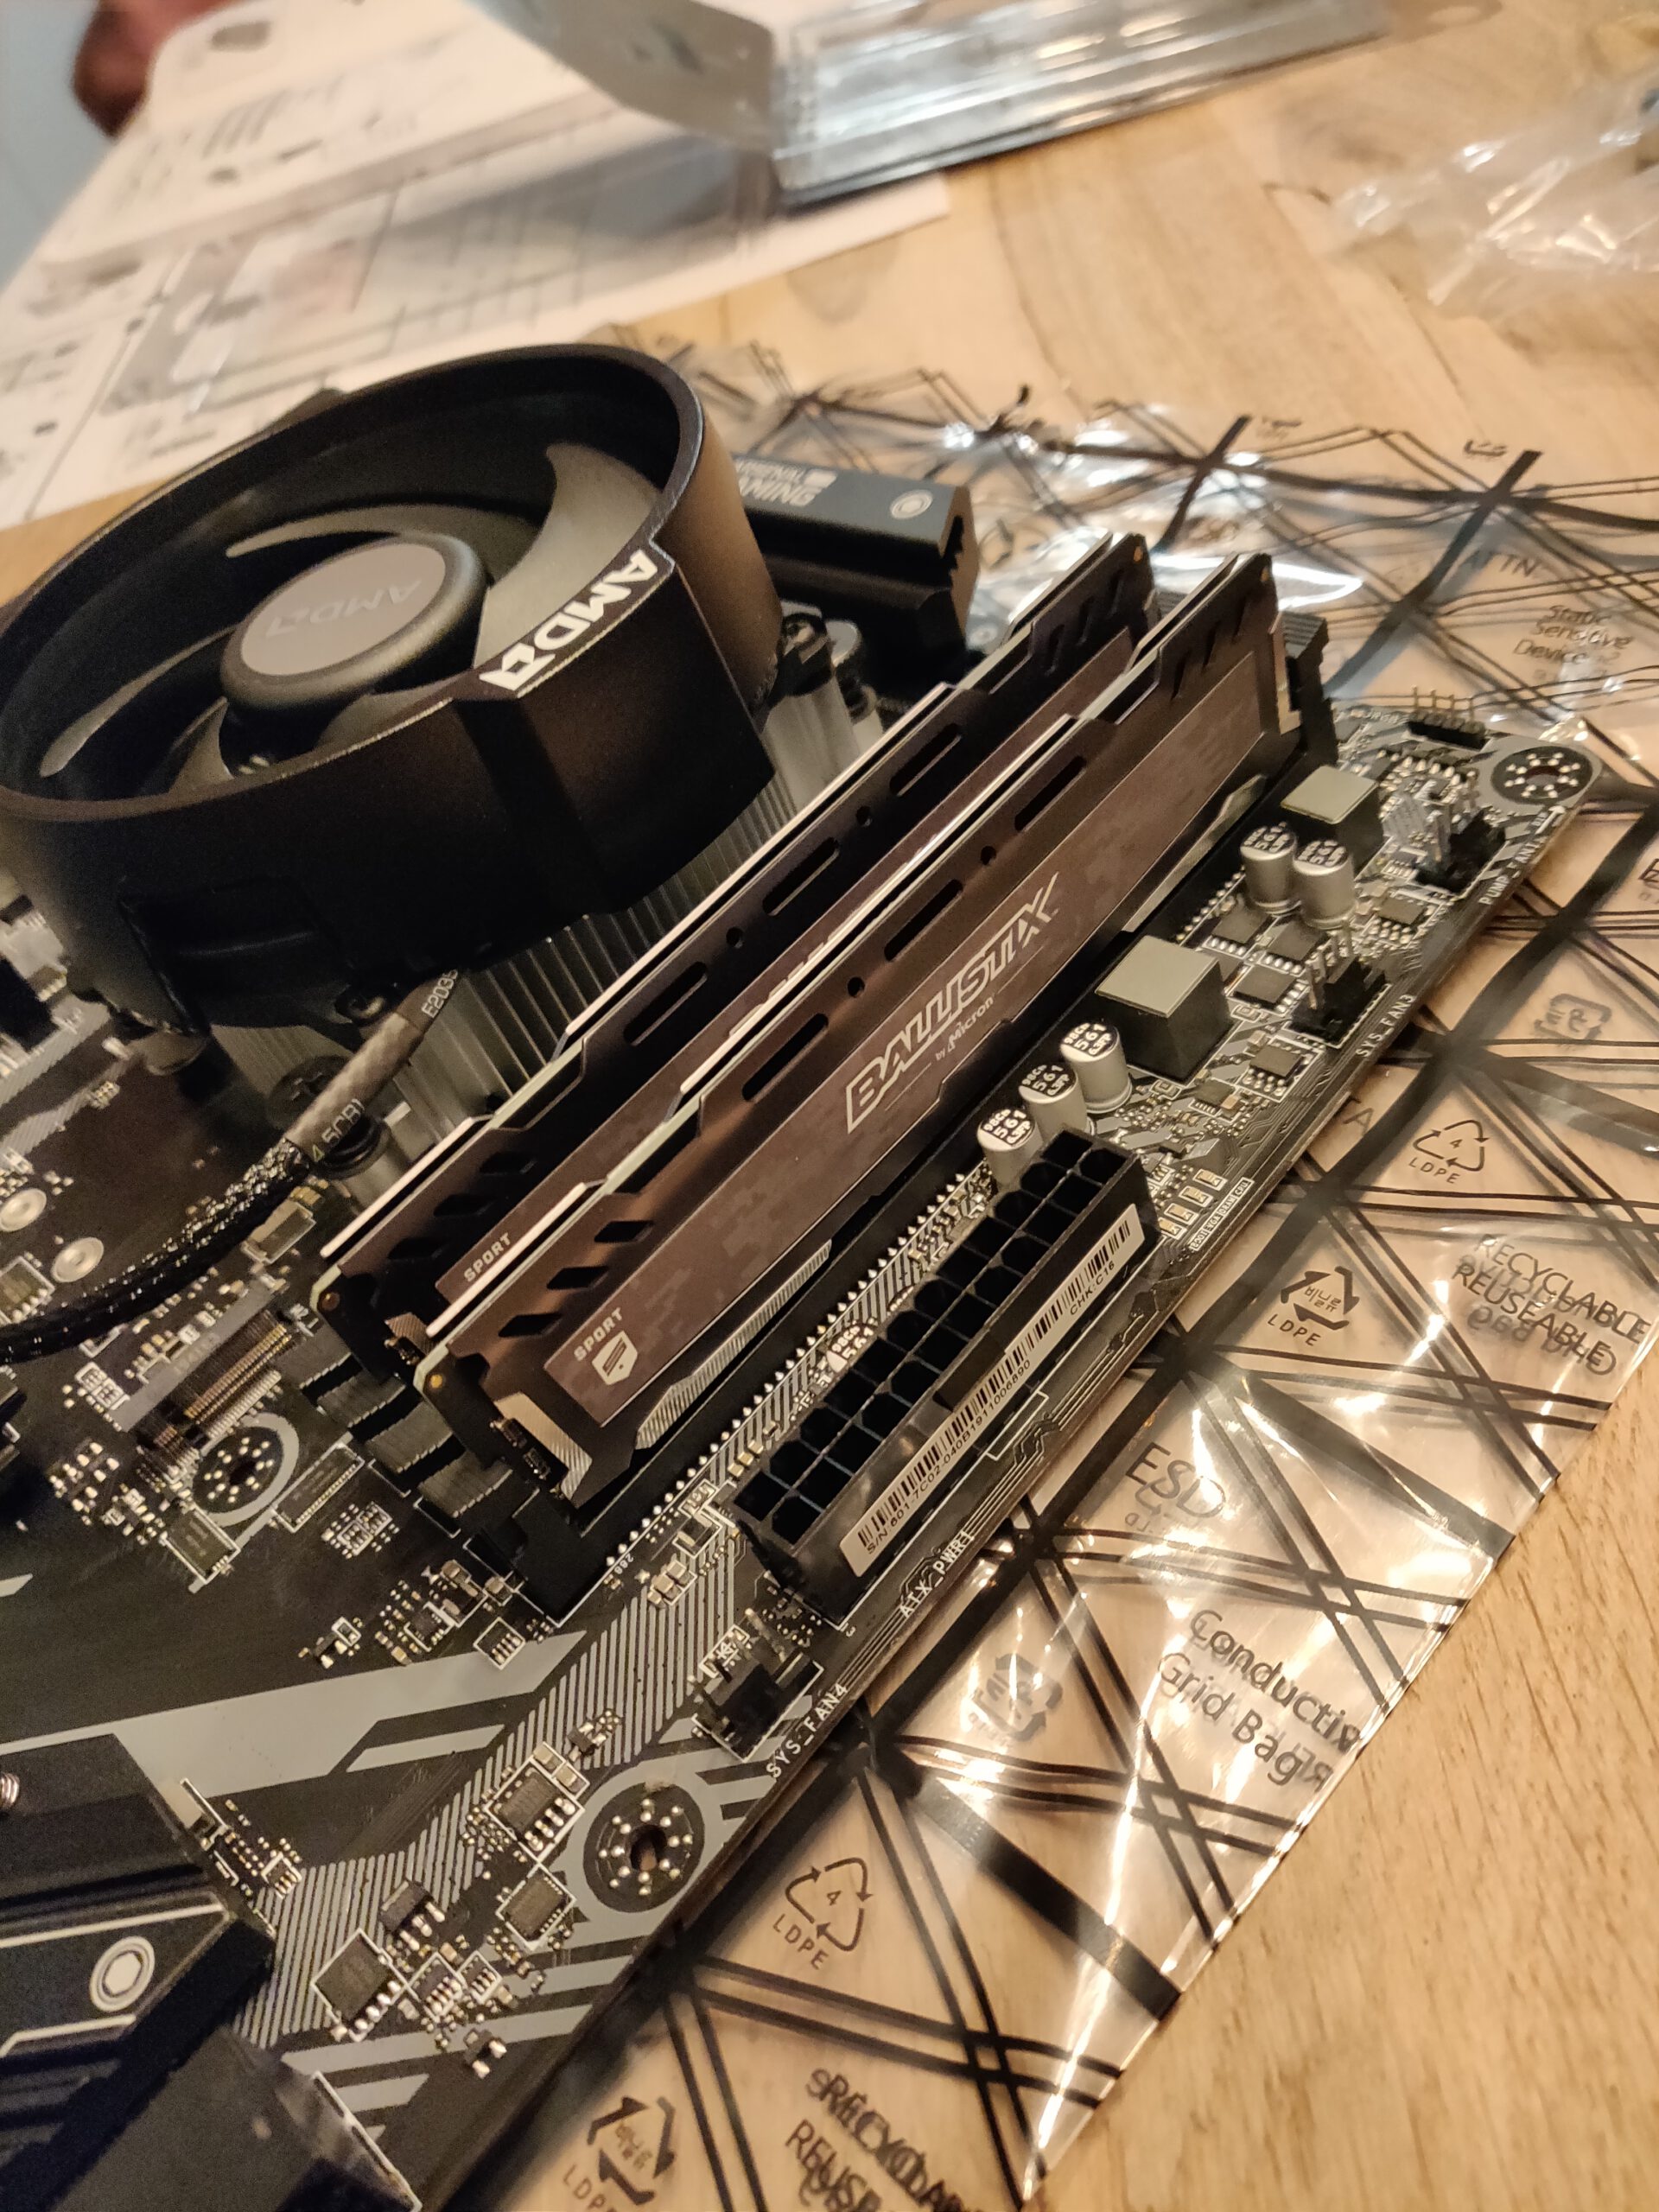 ↪ … and the RAM.
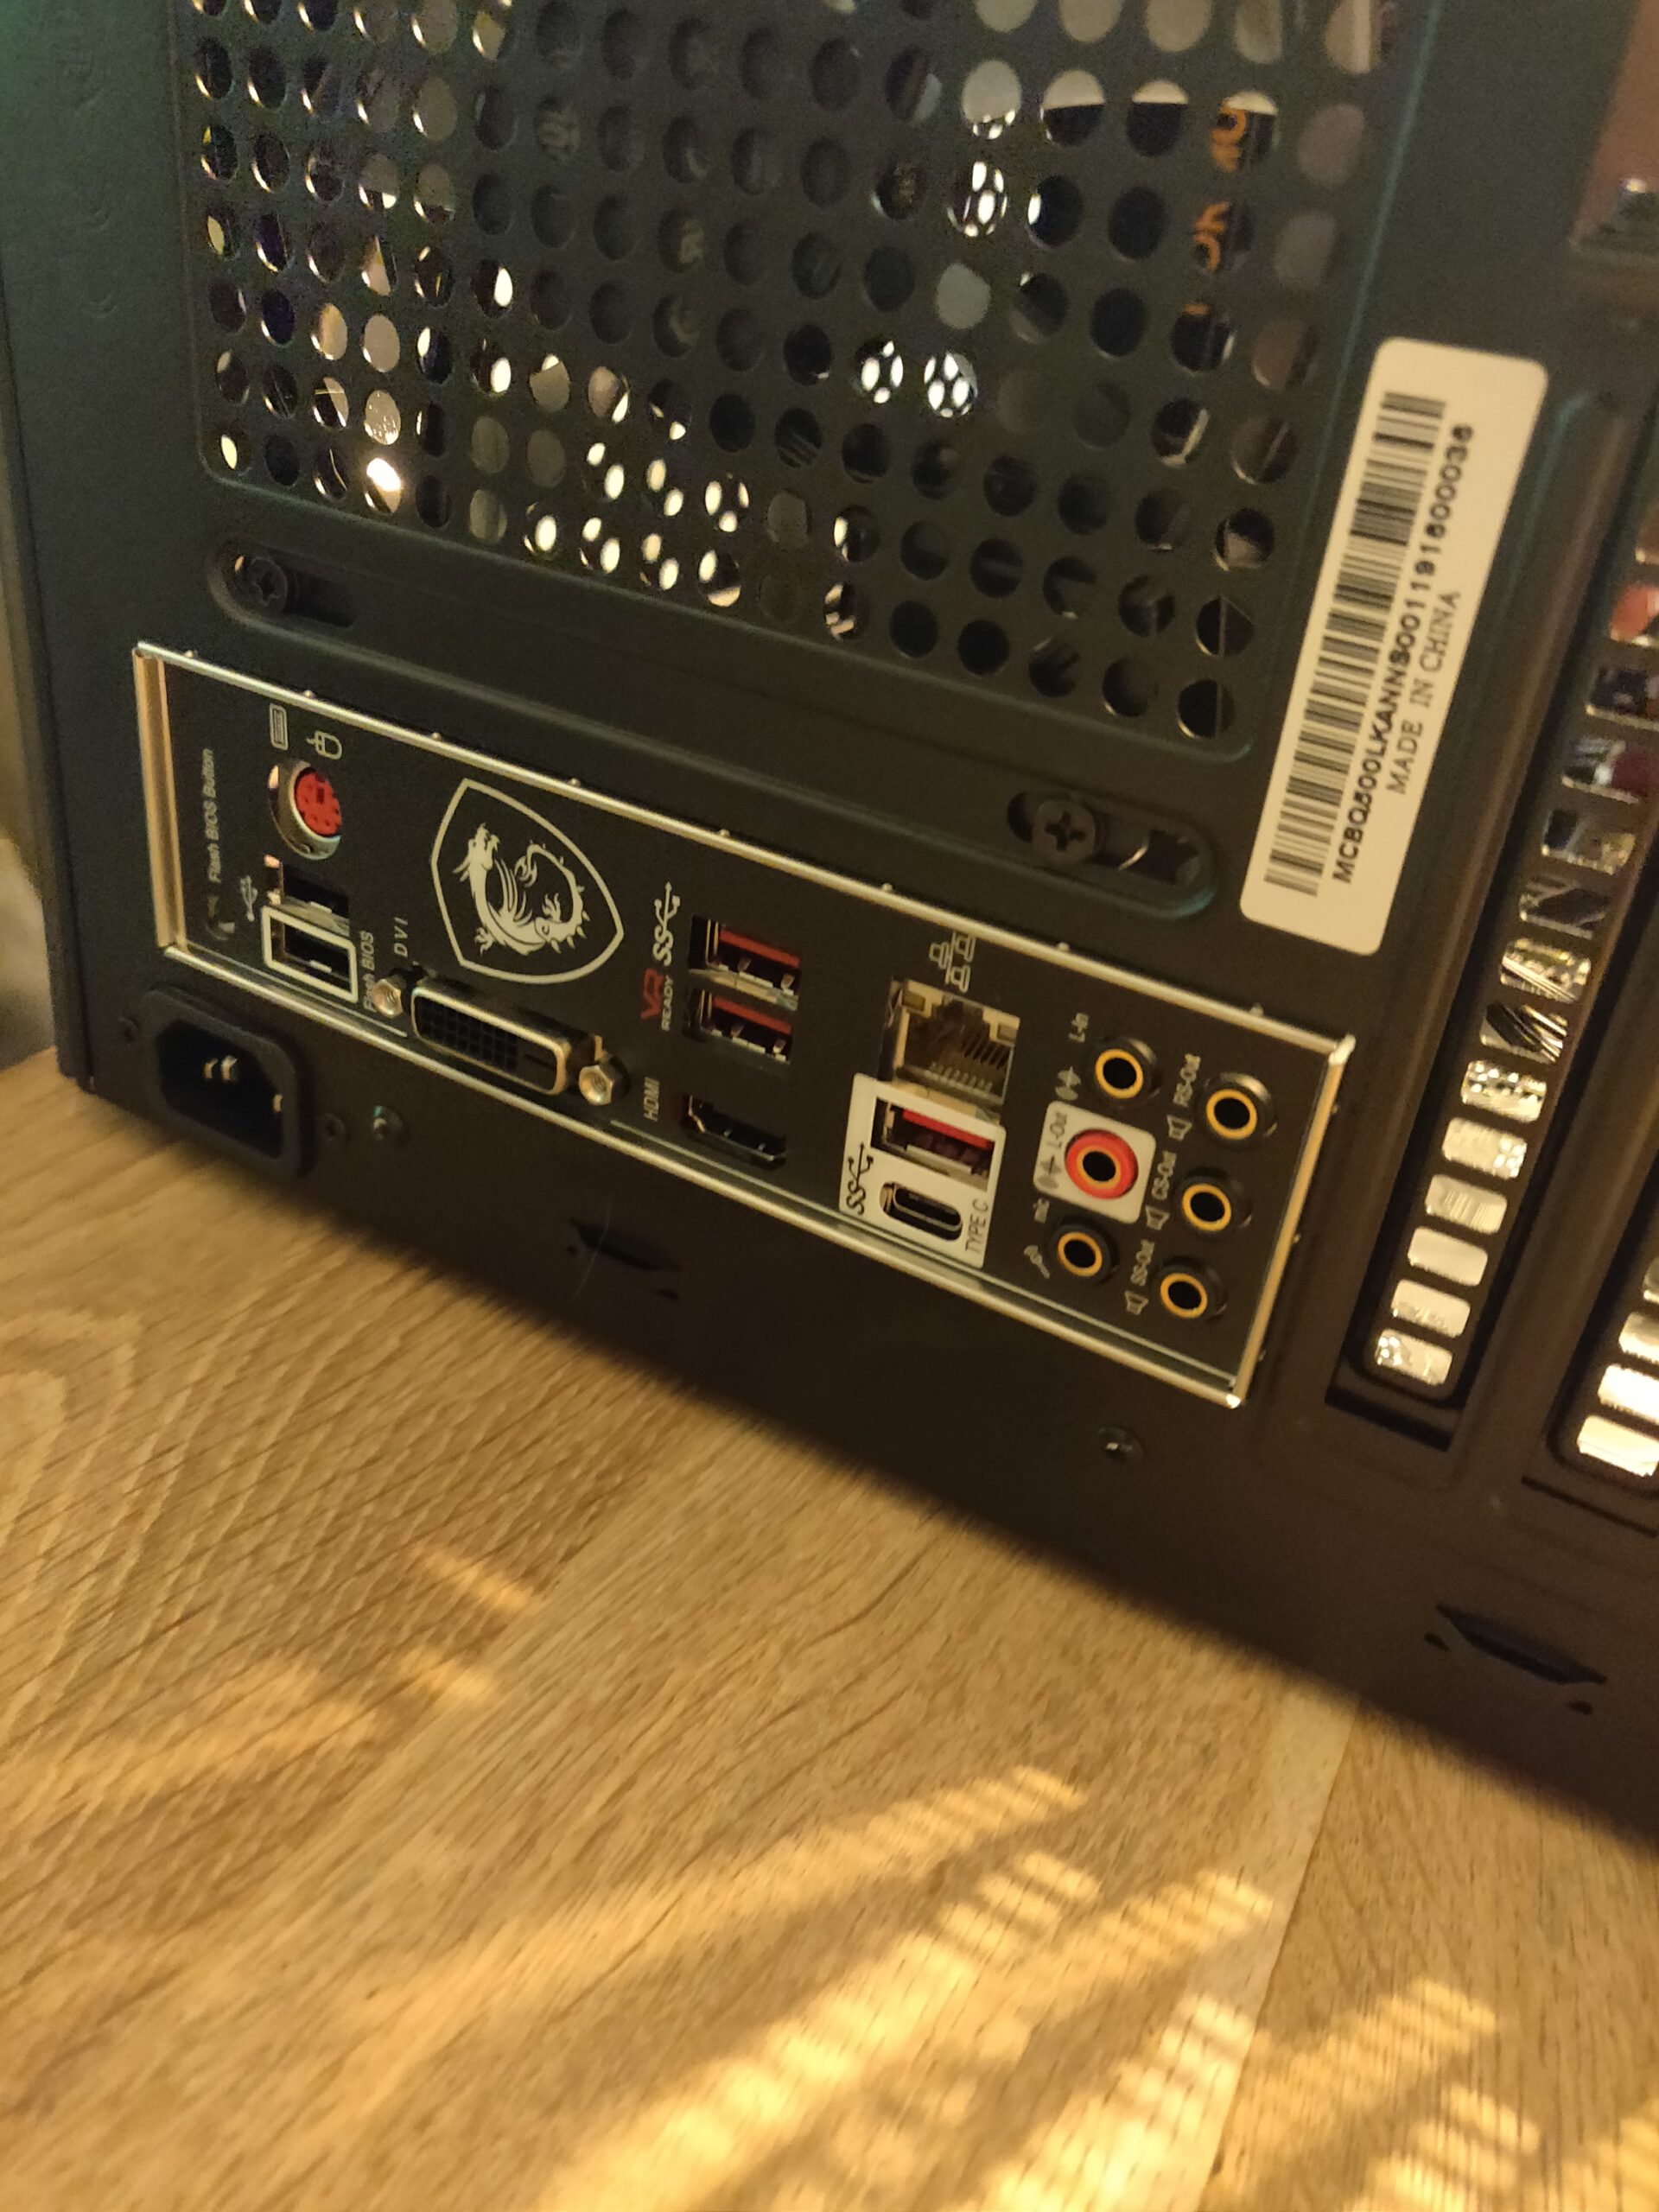 ↪ When placing the motherboard inside the computer case we have to make sure that we align the ports correctly. This was easier said than done, it’s a tight fit!
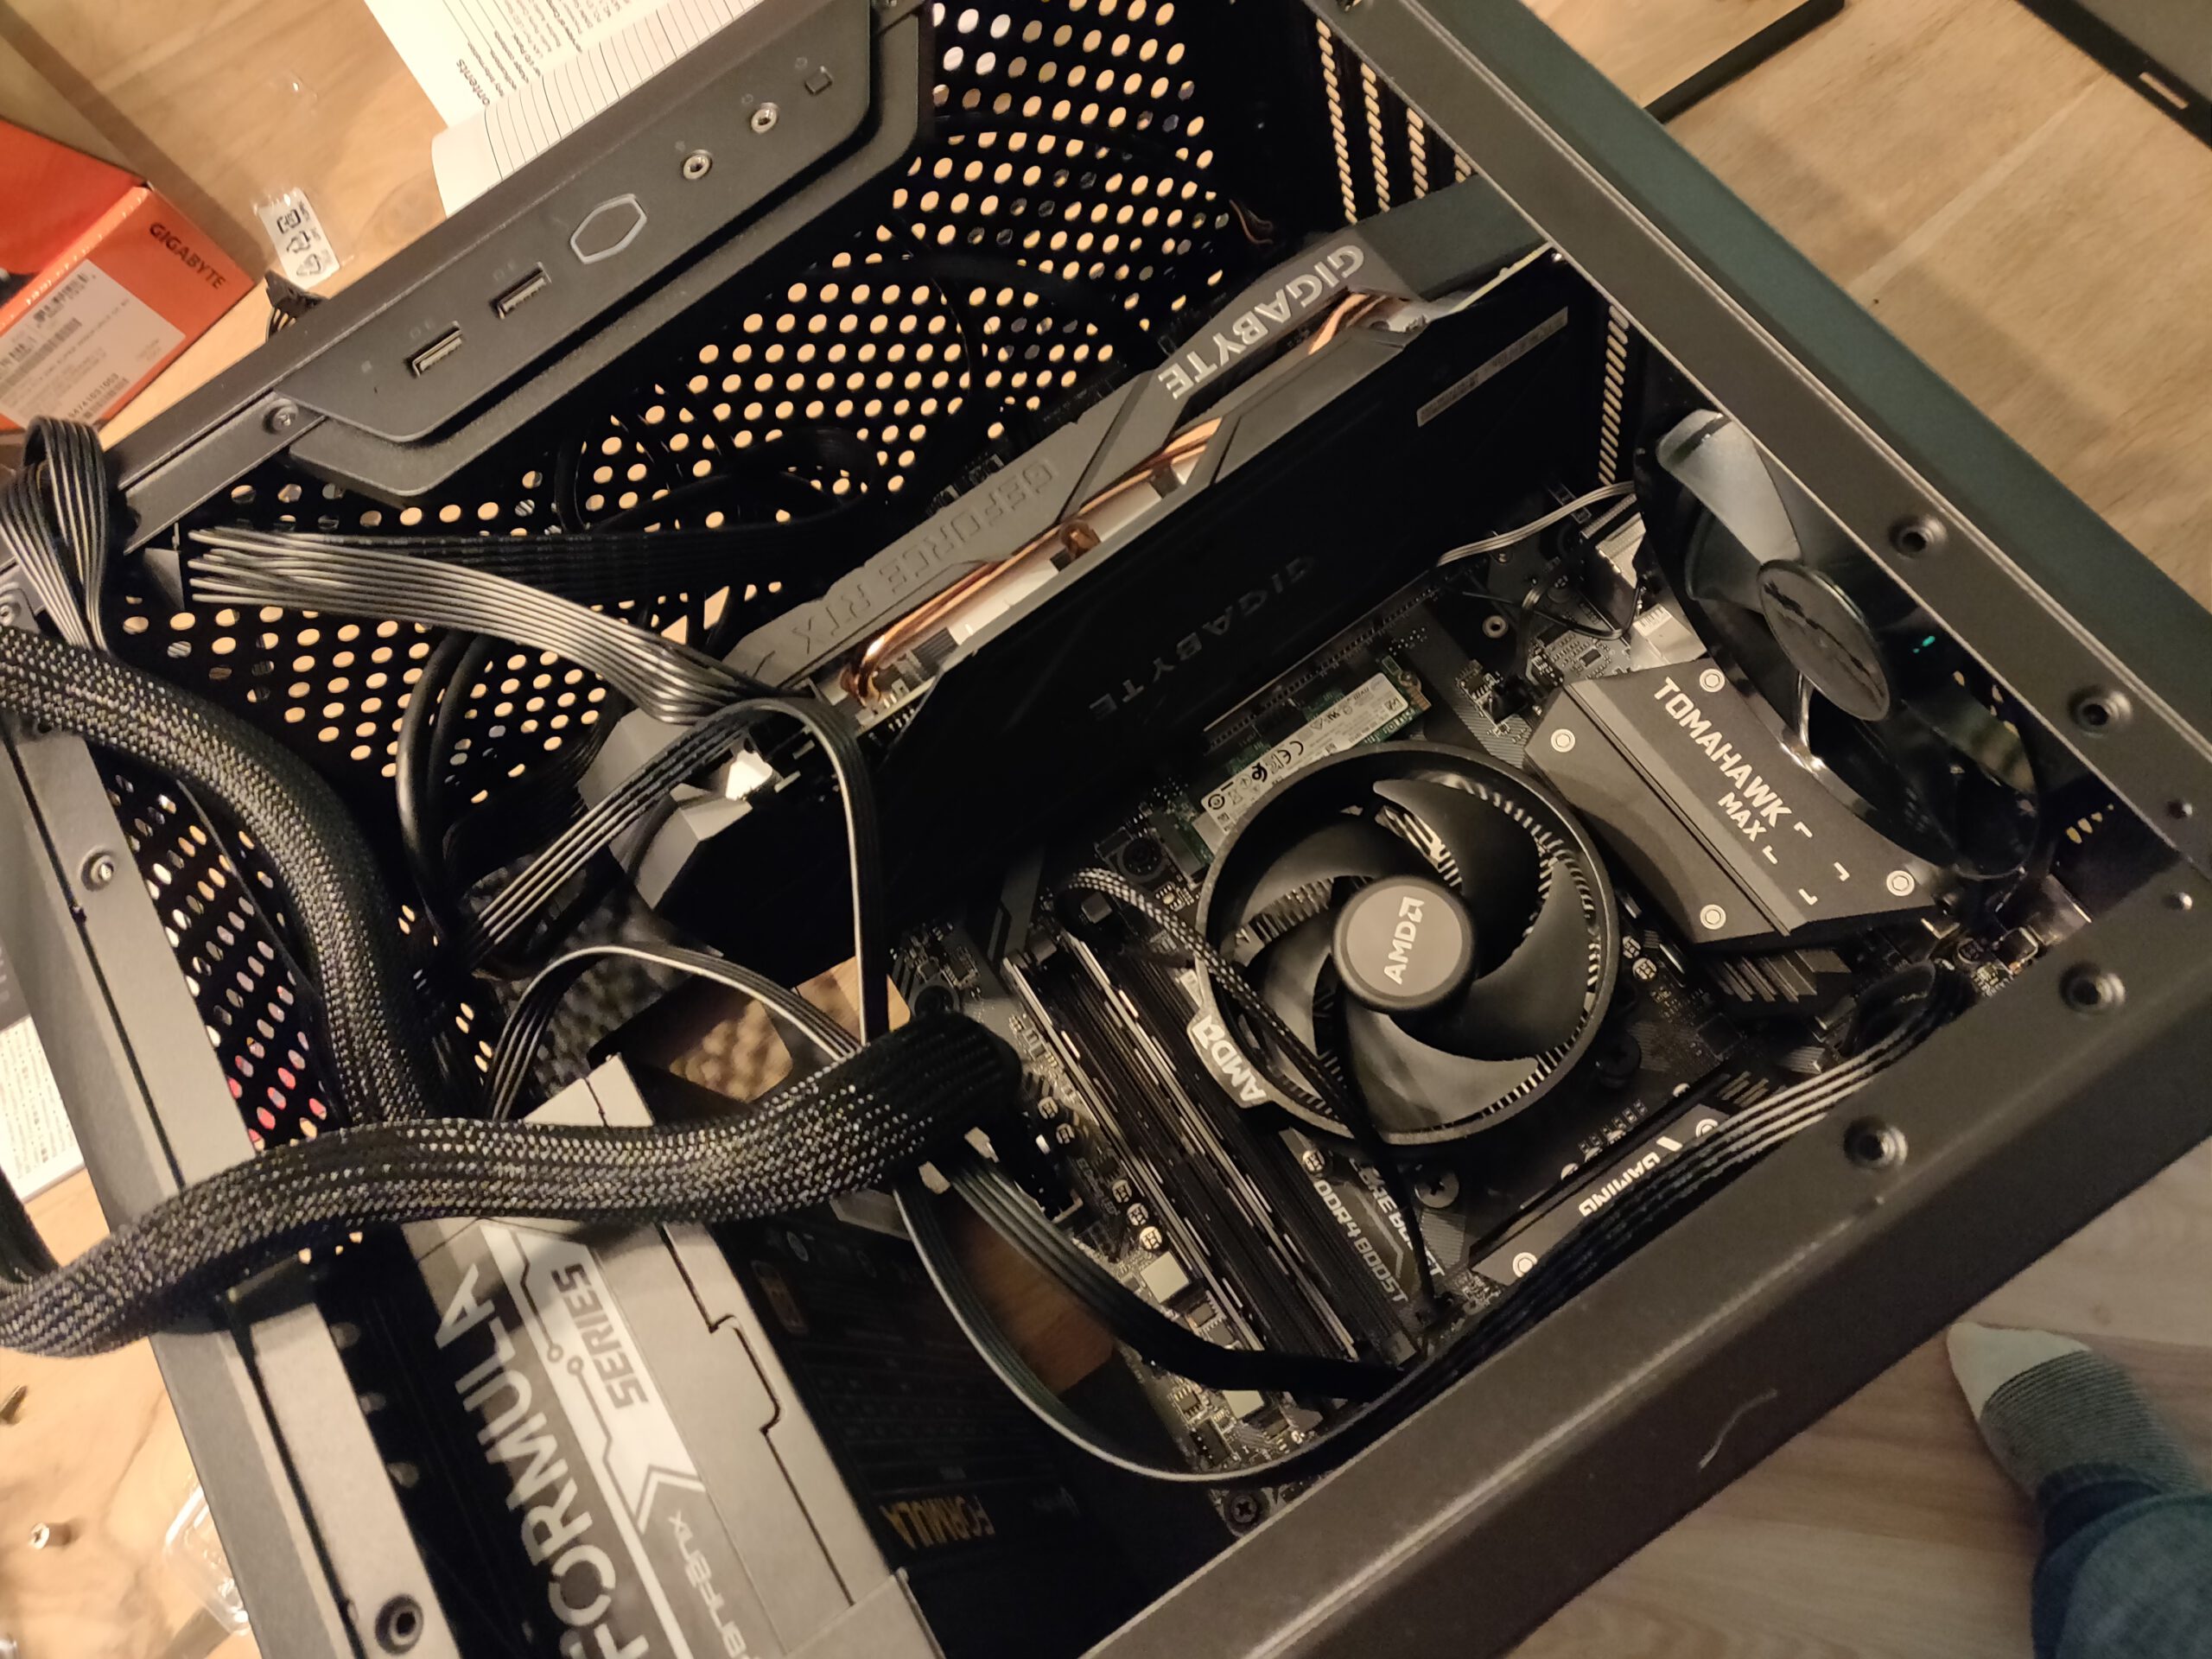 ↪ That’s a lot of cables!
 ↪ Before rearranging the cables and closing the case we make sure that the computer is working. Looks like we installed everything correctly!
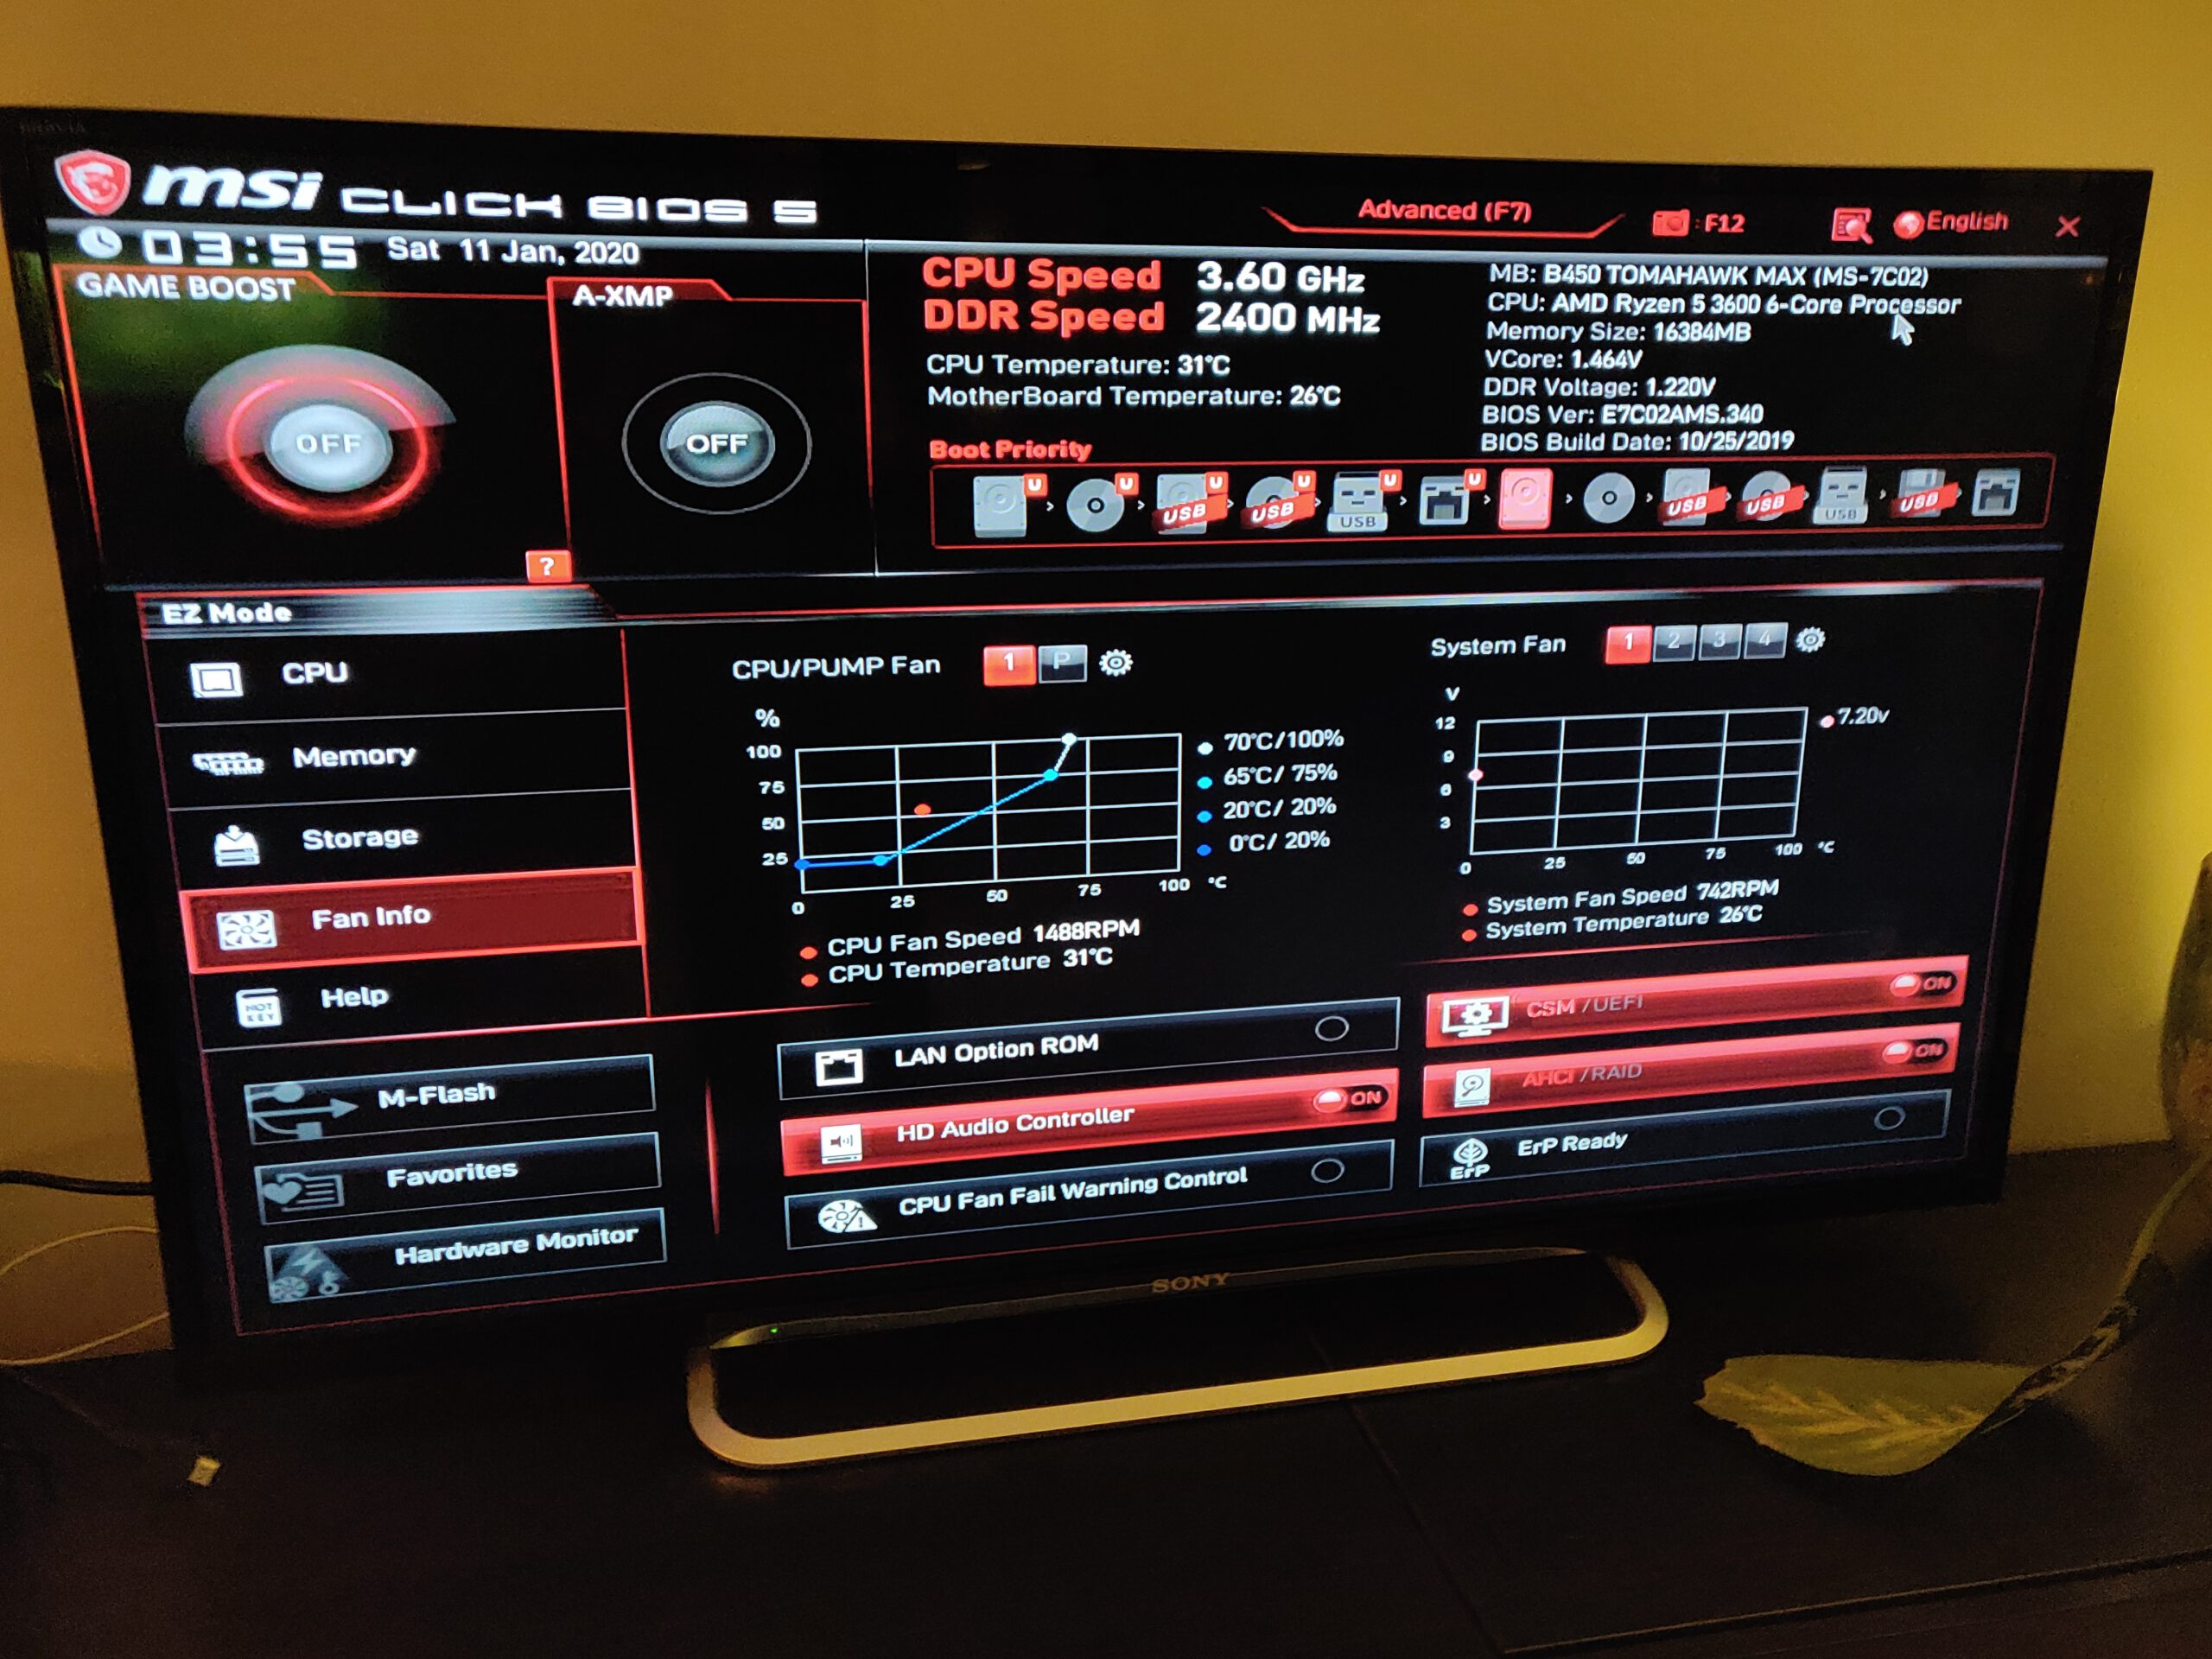 ↪ Inside the computer’s BIOS
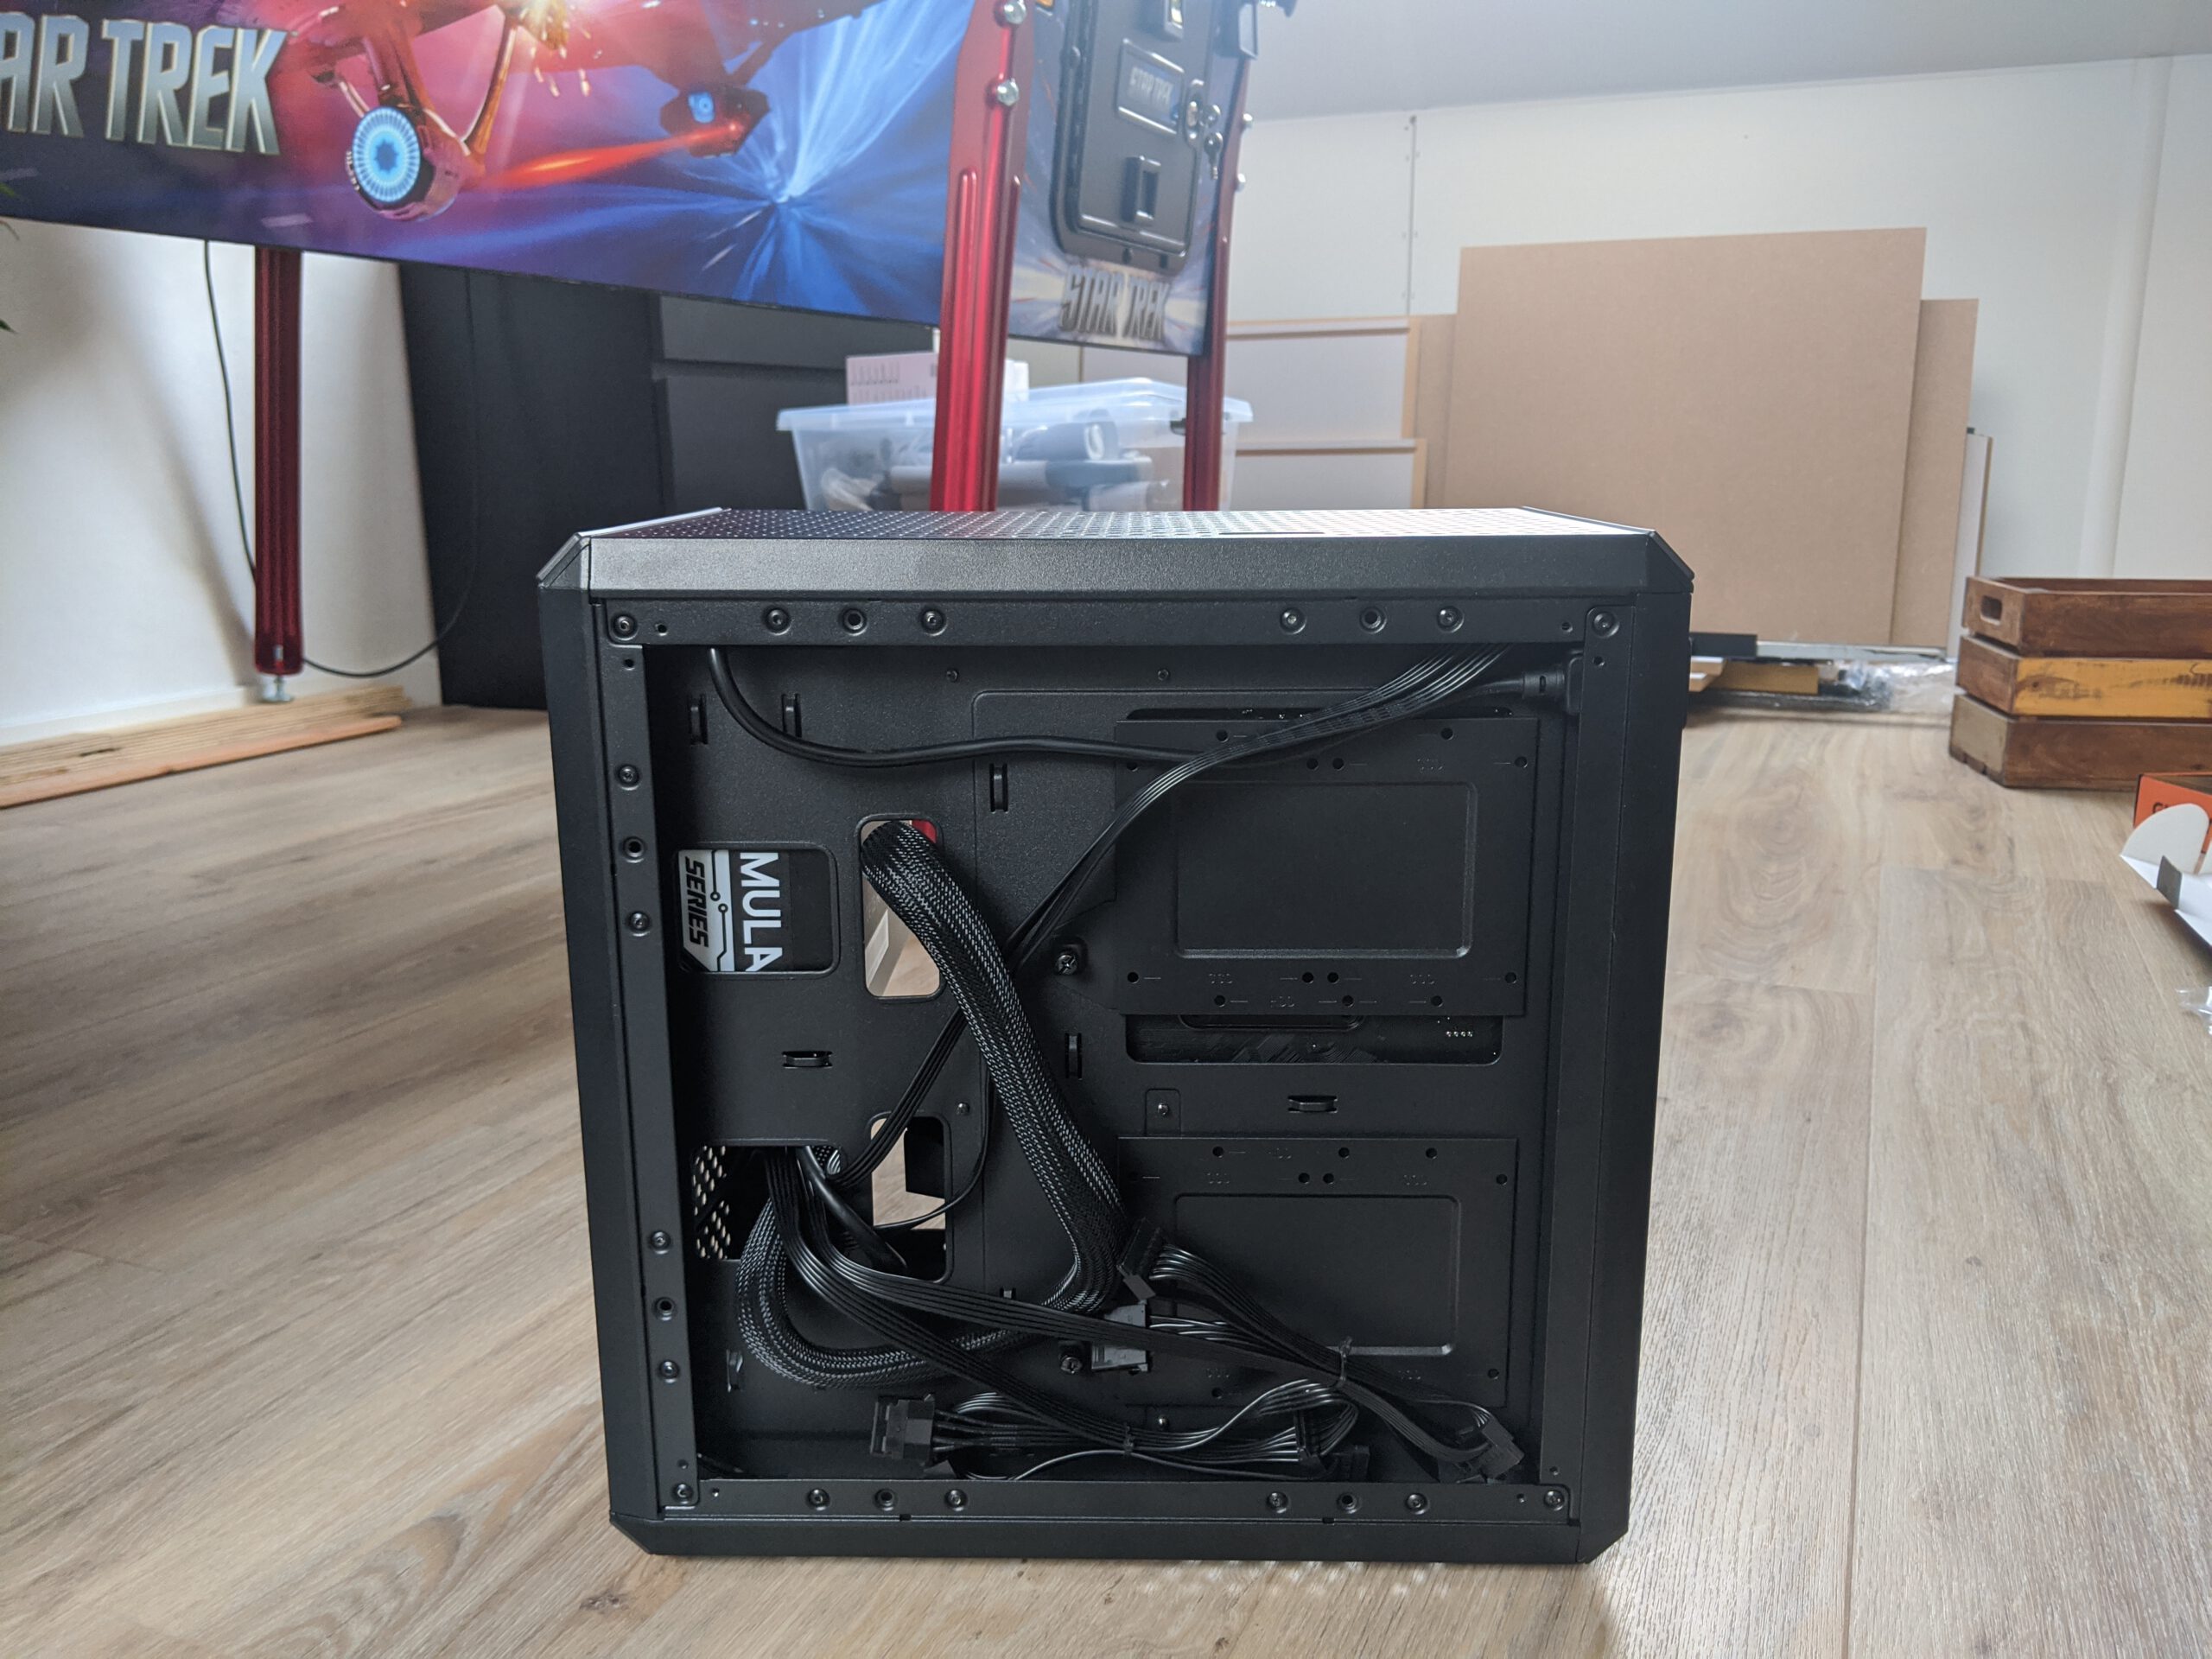 ↪ The computer after rearranging the cables. Yes, that’s a real pinball machine in the back =)
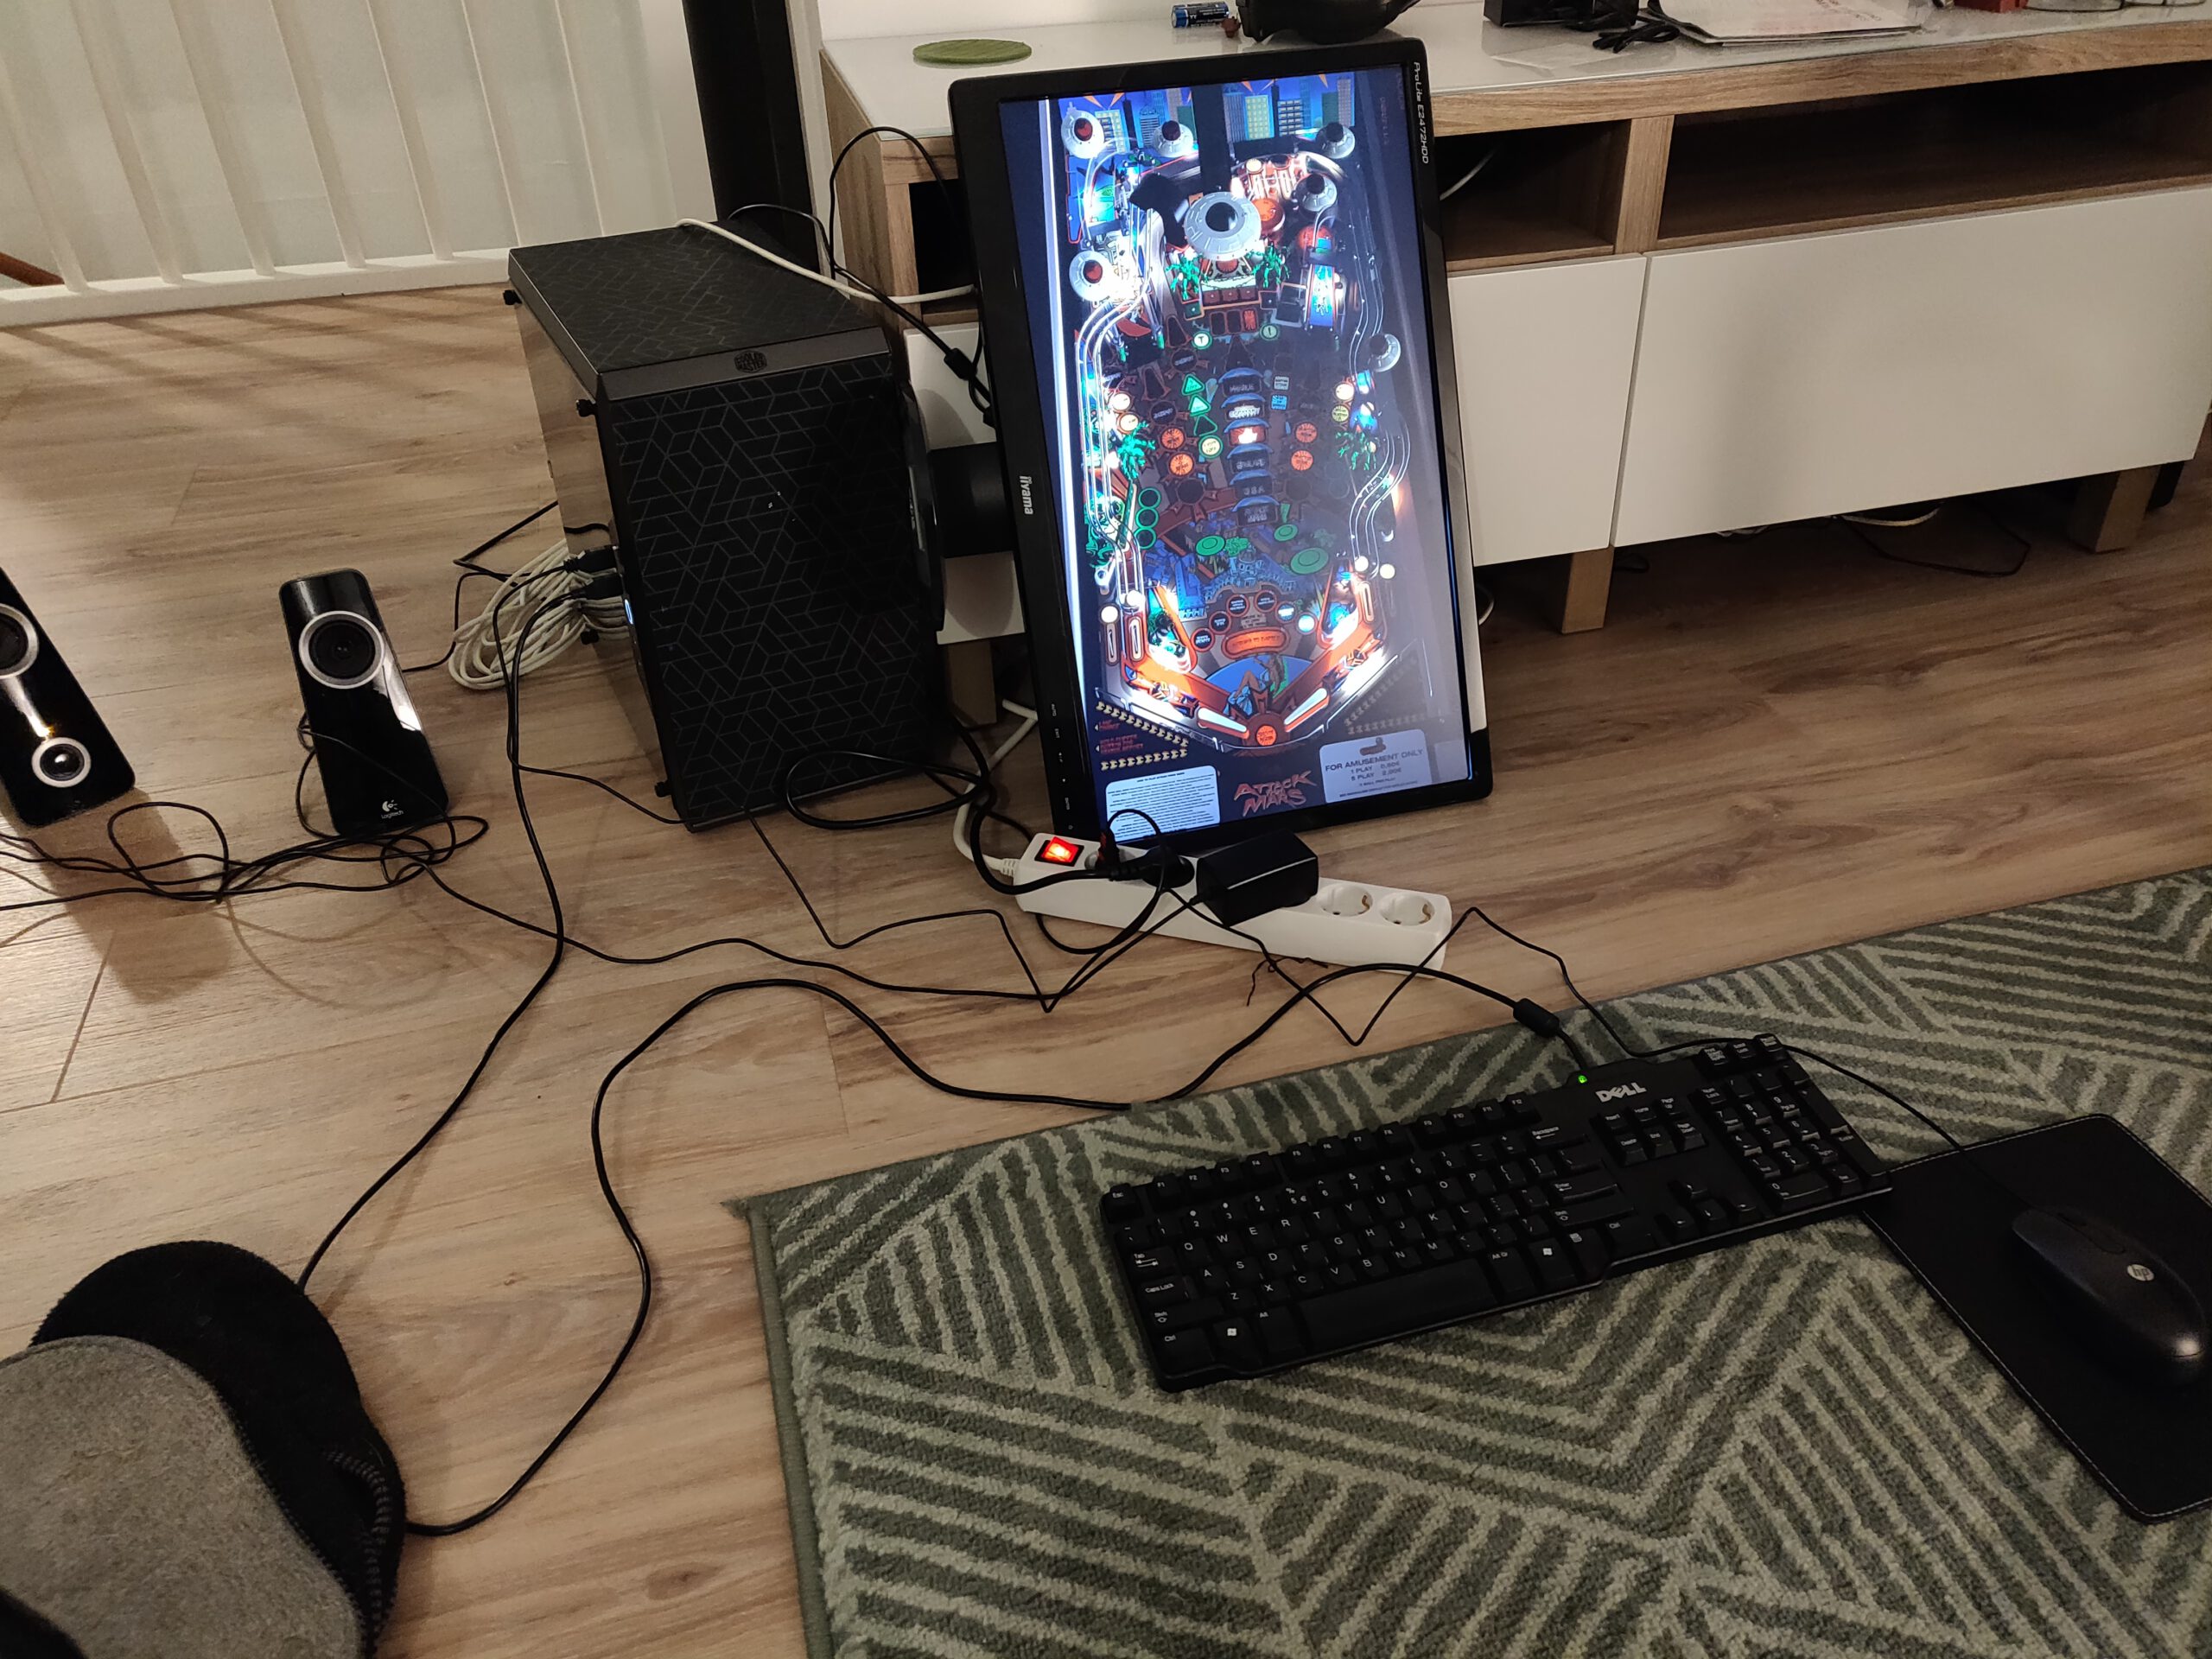 ↪ And a small test setup with VP software.